Journeys - Creating Lessons as a Contributor
What are Learning Experiences?
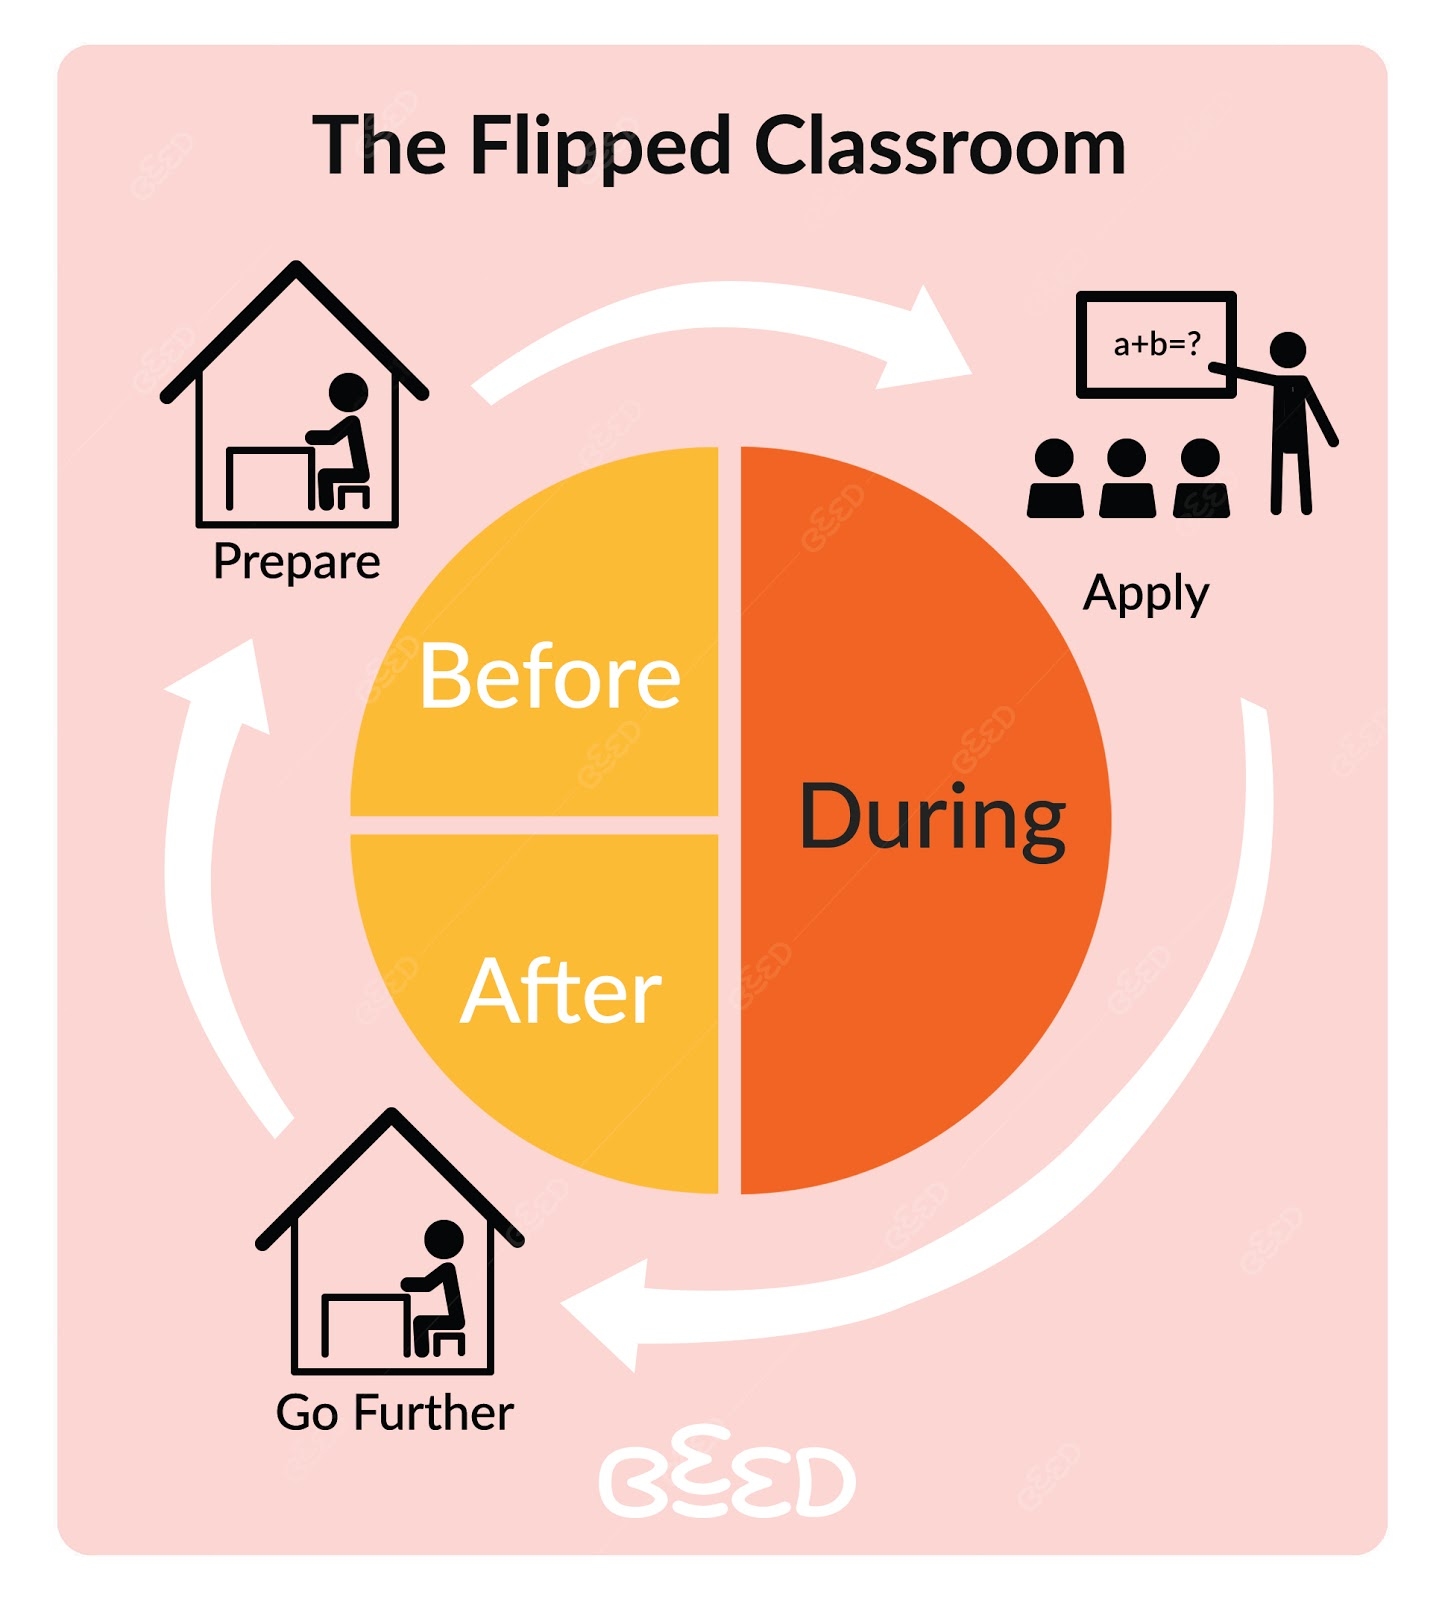
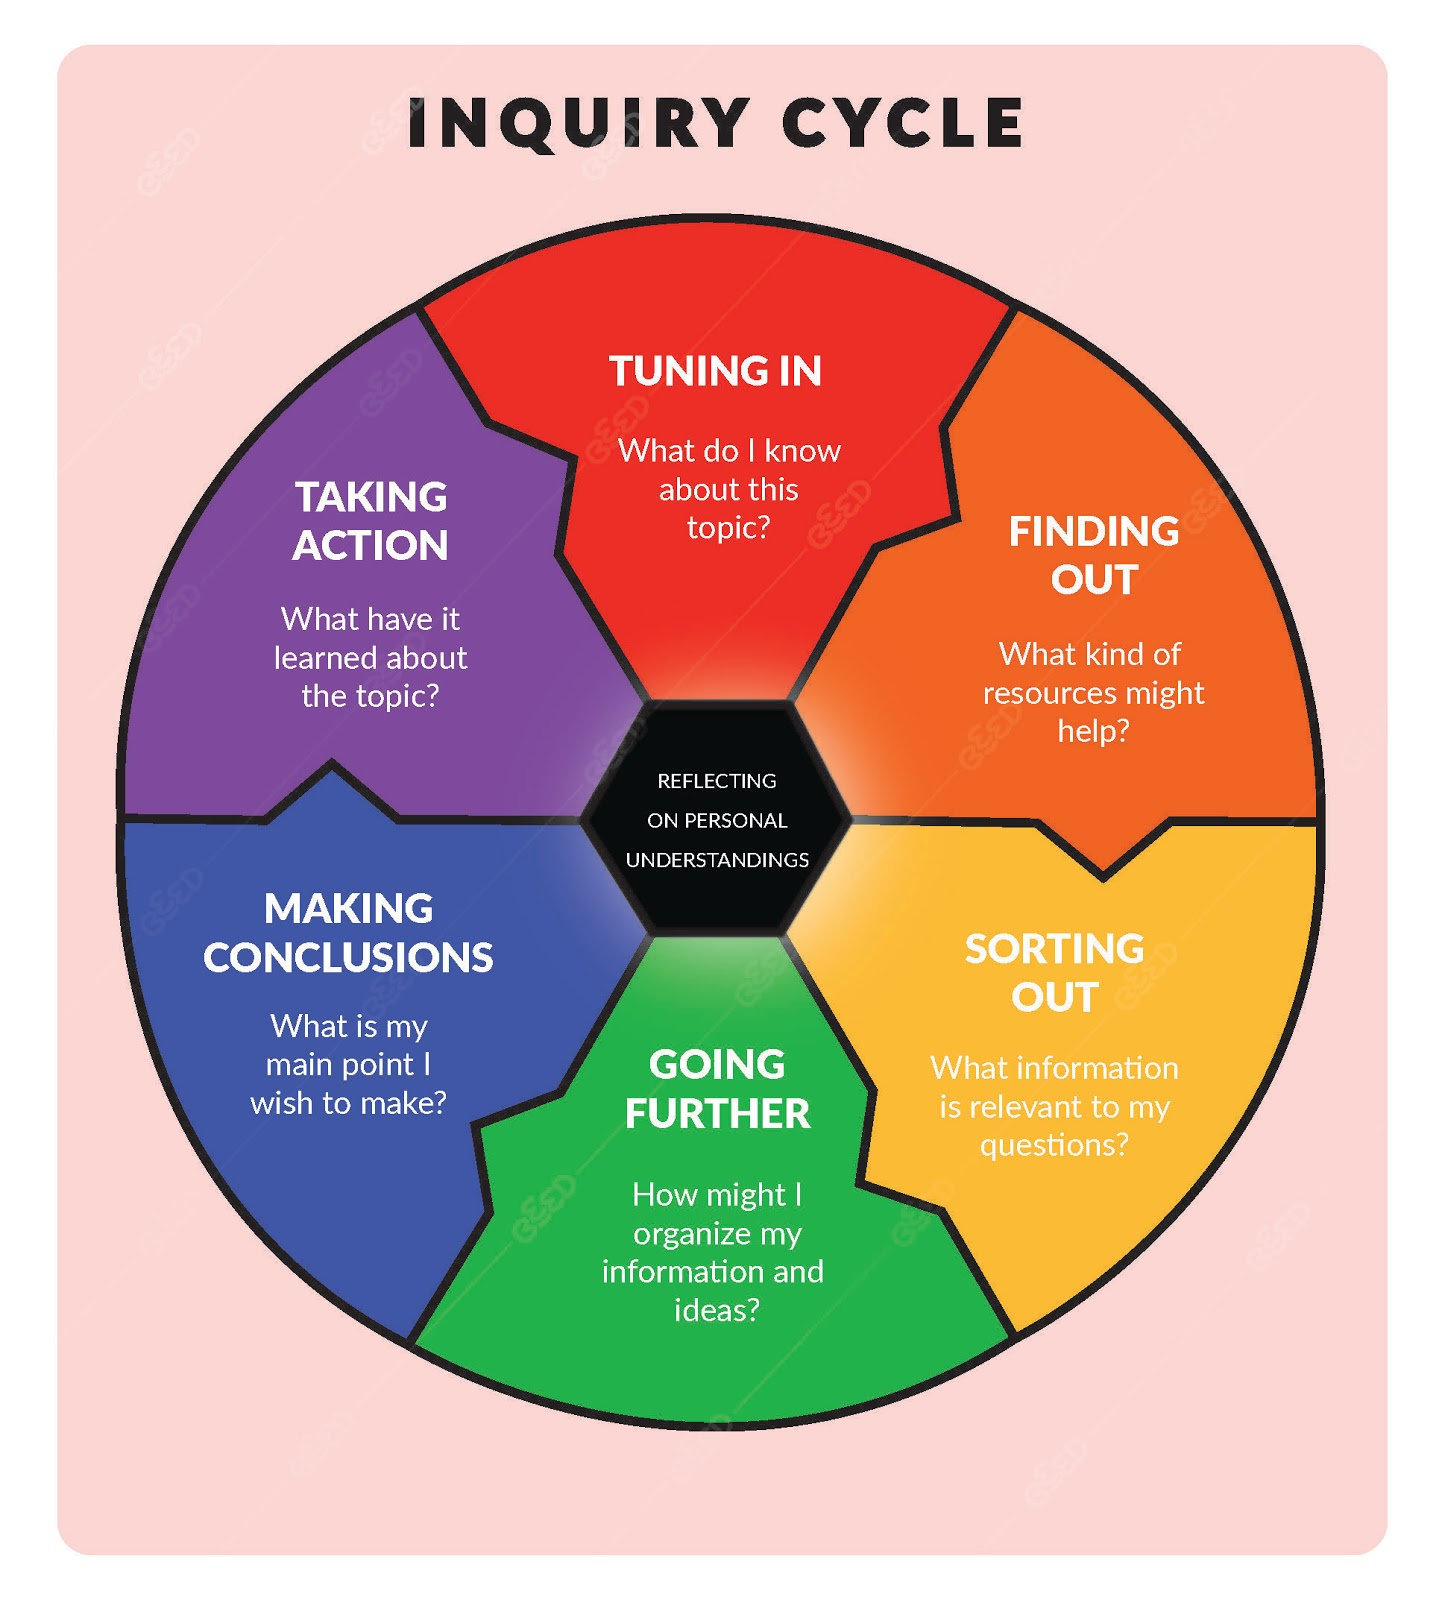
BeED’s Learning Experiences (LEs) consist of engaging digital content that can be done for self-guided or independent learning. Through its interactive mapping feature, authors can create and organize media-rich lessons based on their preferred teaching methods such as Bloom’s Taxonomy, Flipped Classroom, Differentiated learning and more.
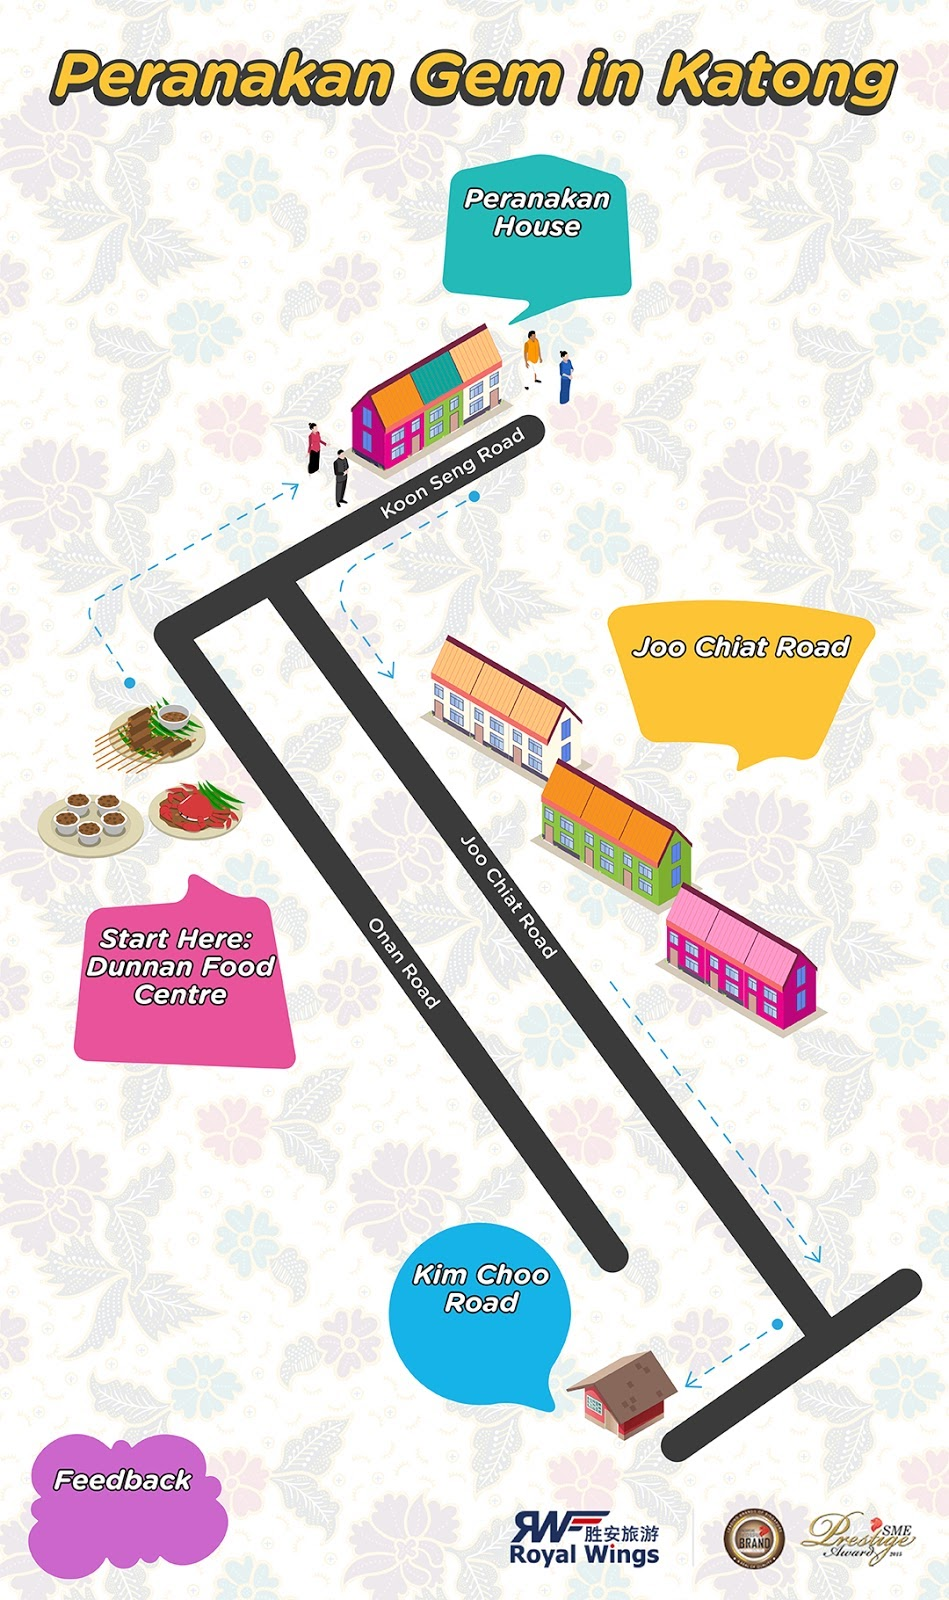
These interactive content can then be linked to Places of Interest, used in the classroom or applied anywhere else, restricted only by creativity.
Think of the LEs as a means to present information to your Learners through convenient, easily digestible formats such as videos, audio, images and text.
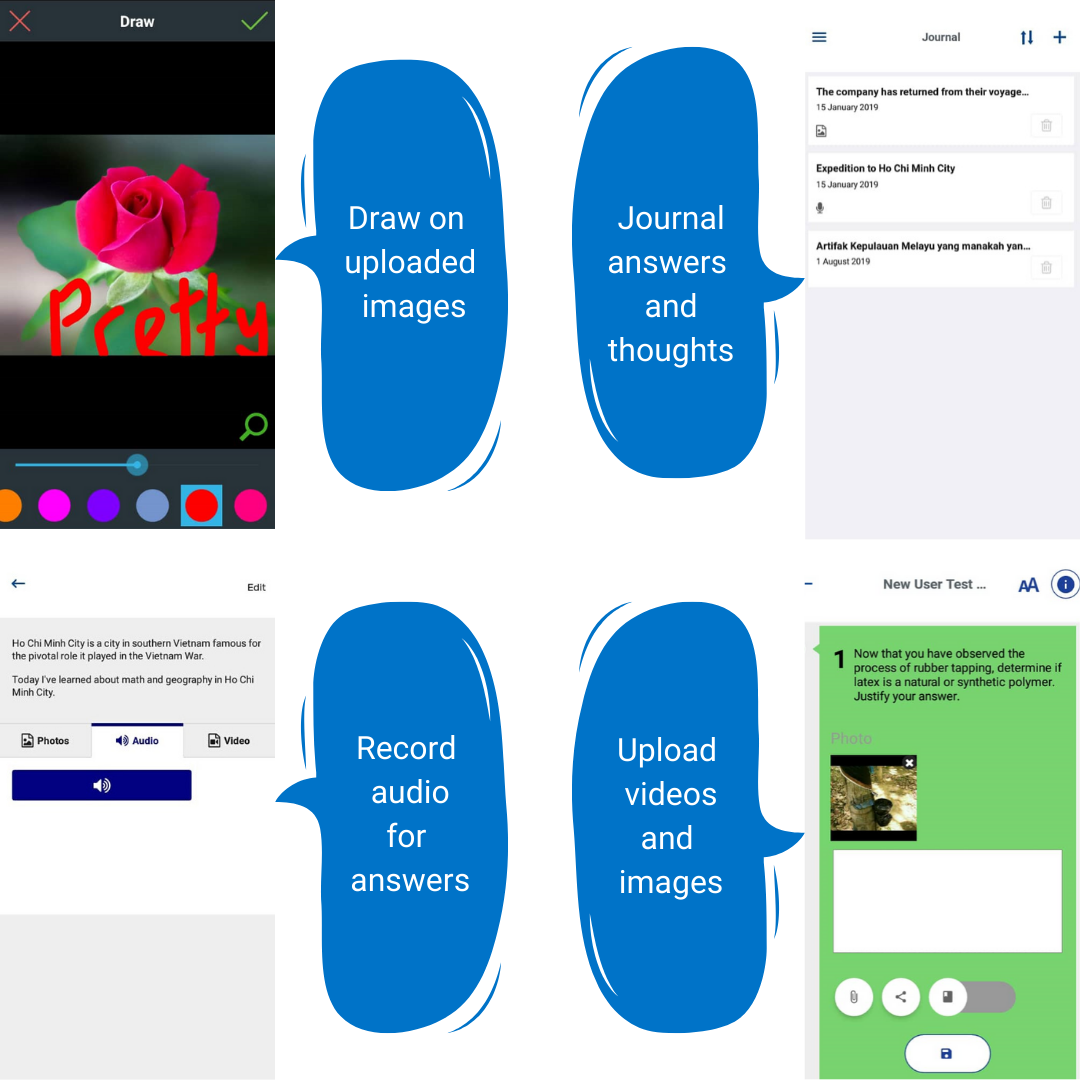
Furthermore, you can also improve interactivity of your activities by asking your Learners to:
And the best part is, learning never stops with us - with the app’s offline functionality, you can even access these lessons when there is no Internet connectivity!
To begin creating your first Learning Experience, navigate to the Contributor Dashboard.
Parts of a Learning Experience
Lesson Info
Before starting an LE, you can access information about the LE by clicking on the Lesson Info tab. In this tab you will find information about the Place of Interest, the LE itself and the various concepts that will be taught in the LE.
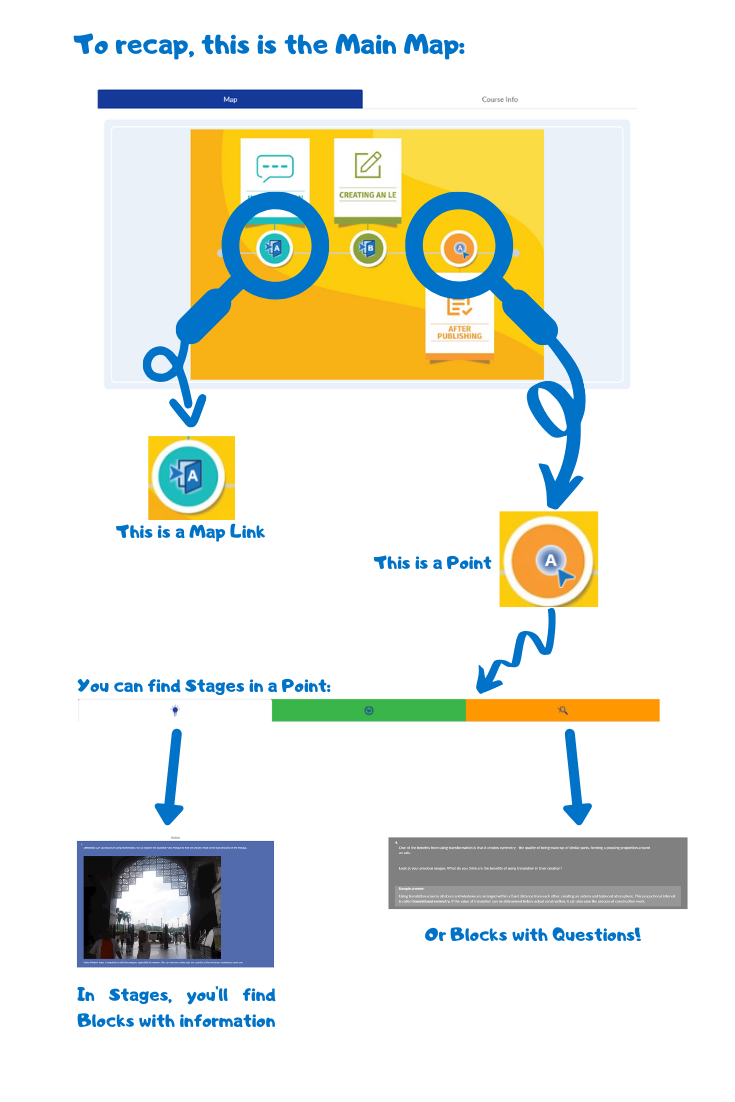
Main Map
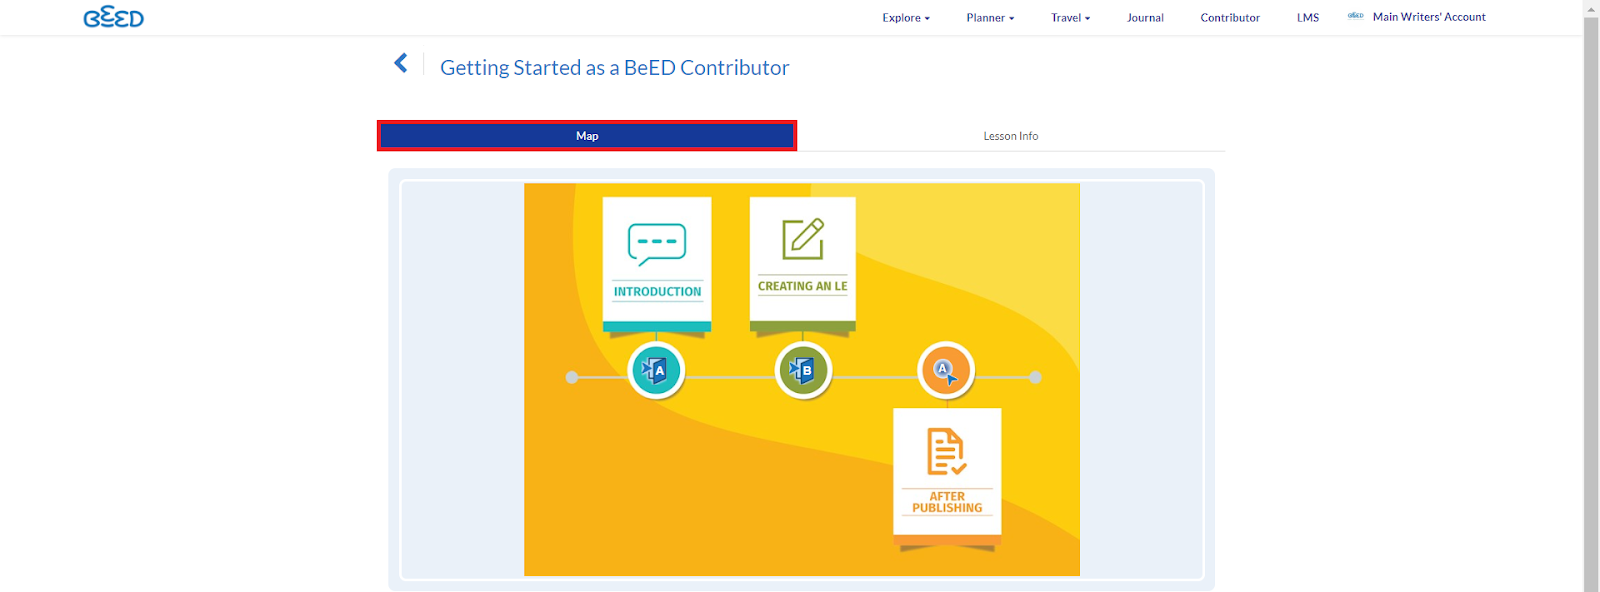
The Main Map is where you can get an overall view of the structure and content of a Learning Experience. You may choose to arrange your lesson based on a preferred teaching method, or simply in any sequence or arrangement that you wish. You can access it by clicking on the Map tab at the top of the page.
Note: Content Creators can create and upload customized maps (they can be as simple as an image of your content topic e.g. flowers, or they can be more descriptive, such as a mindmap of the various components of a lesson). You can also find and use a list of free BeED map templates here.
Maplinks
On the Main Map you can find Maplinks. Maplinks are clickable links for you to organize your content even further through a graphical interface. Clicking on a Maplink will take you into a subsection of the LE, with a new Map attached.
Points
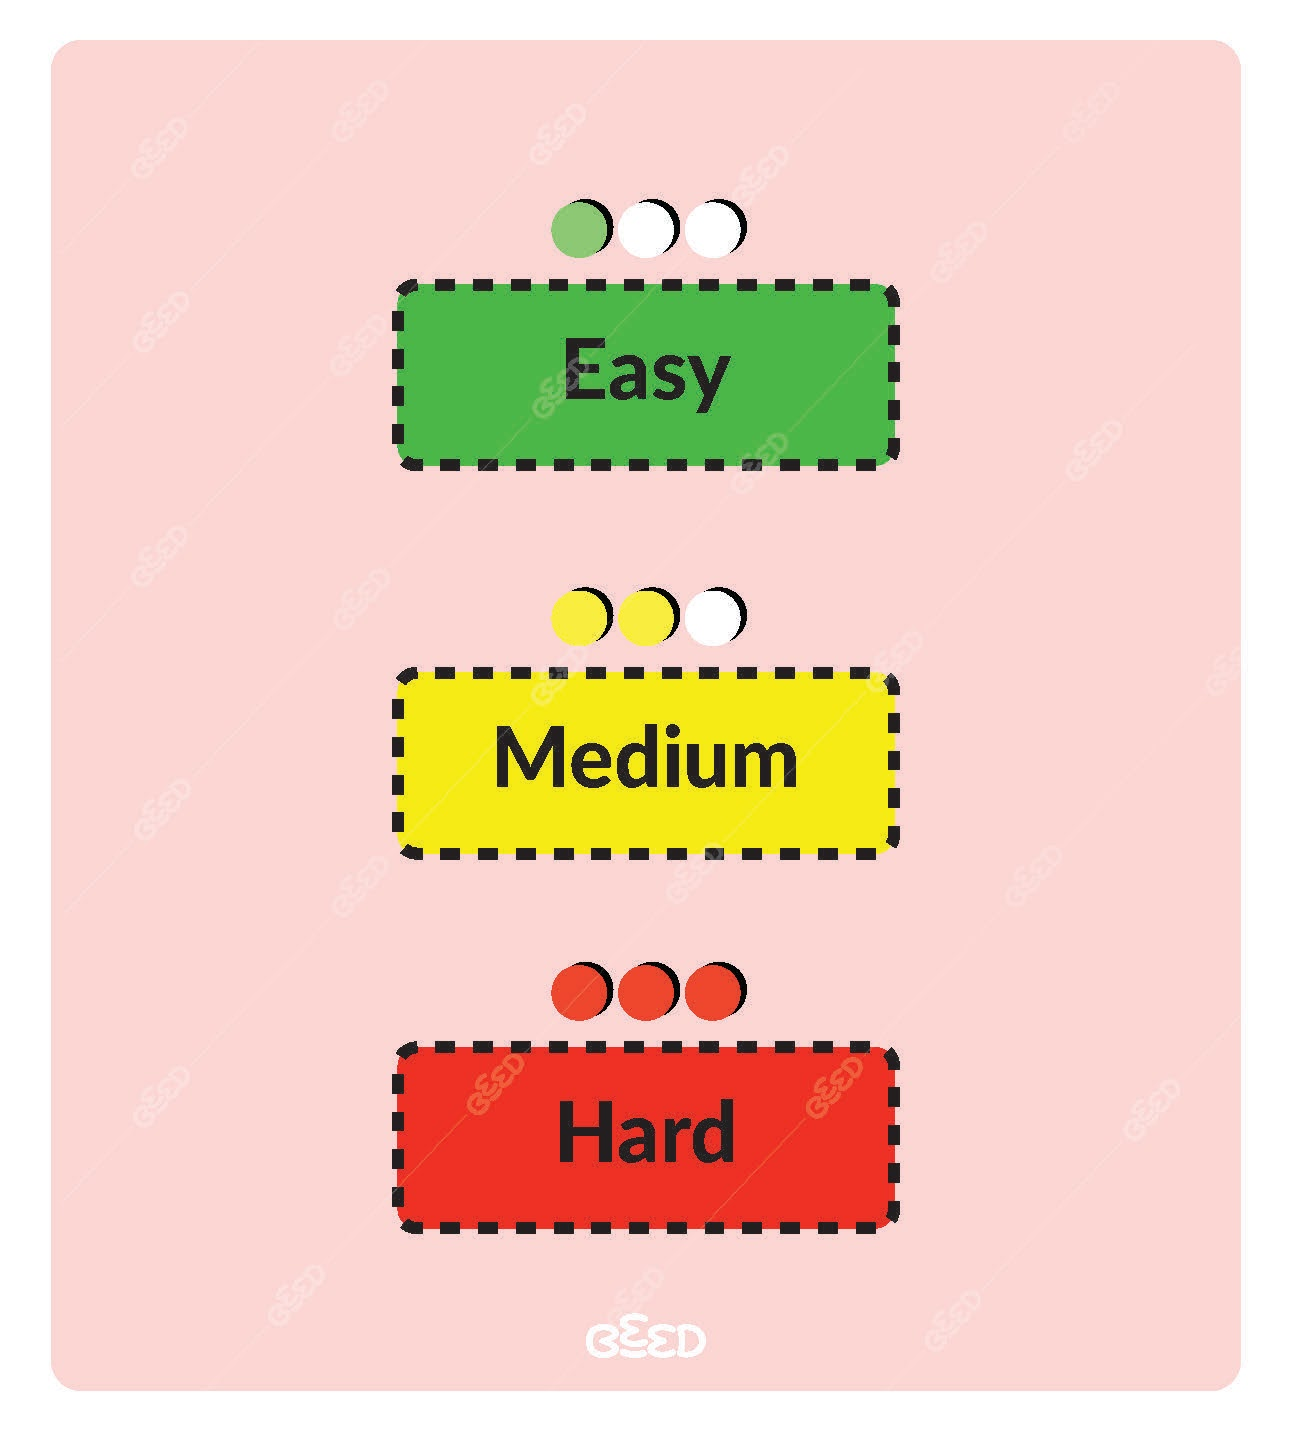
You can also find Points on the Main Map. A Point is a clickable link on the map for you to store and present your content. Clicking on a Point will allow you to access the actual lesson content. Points are meant to separate content into smaller chunks so learners don’t get overwhelmed by information. Points can be used to divide content into more bite-sized chunks to facilitate scaffolding (Organizing content from easy to hard to build up increasingly complex thought processes in learners).
Note: If you are a learner, you may see numbers in the point icons of your Learning Experience. This indicates the number of questions left unanswered in your LE.
Stages
You can divide a Point into several Stages. This allows you to sort your content in a more structured format.
Blocks
Within a single Stage, you can place your content into Blocks. There are two types of Blocks - a Lesson block, and a Question block.
Lesson Block
A Lesson Block contains academic content relevant to the topic explored in an LE. This information can include text, audio, statistical data, graphs, videos and so on.
Question Block
A Question Block allows you to input more interactive questions and activities for your Learners to respond to. This allows your Learners to provide answers and responses in the form of text, audio, and videos.
Learning Experiences Main Menu
To create Learning Experiences, you must first be in an Educator or Admin role. Please ensure that you switch roles first before doing so. Once your role is changed, click on the Contributor tab in the menu bar of your main dashboard in your browser.
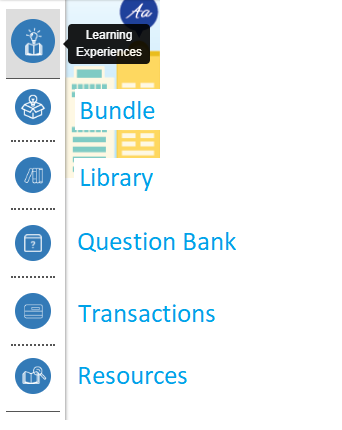
Clicking on the Learning Experiences button will result in a drop down menu on the left side of the screen containing the following options:
Bundle
This is a list of content purchasable/downloadable as a bundle. LEs for sale here are meant to be used as a package.
Library
The Contributor Library contains content created by you and other members of your organisation.
Question Bank
The Question bank stores all Multiple Choice Questions created by you or your colleagues within the same institution. These questions can be retrieved while you create an LE.
Transactions
This page lists down the income you will receive from LEs you put for sale in the Nexus.
Resources
This page contains supplementary resources to help you start designing your first LE, from how to use copyright-free media to how to creatively use your maps! It is highly recommended that you go over the content in this section to further aid your LE creation process.
Publishing Private
Setting your Learning Experiences as Private allows you to:
-
Share your Learning Experiences with members of your institution only. In other words, educators and learners that you have added to a hub will be able to see your LEs if you attach them to said hub.
-
Skip the BeED vetting process.
-
Use any sort of media as long as it complies with the principles of ‘Fair Use’.
If you are publishing your Learning Experience as Private, you can skip the Branding section under Publishing Info, and click on the Publish button directly.
Publishing Public
Setting your Learning Experiences as Public allows you to publish them on the BeED marketplace, otherwise known as the Nexus. By publishing on the Nexus, your Learning Experiences:
-
Can be purchased by other BeED users from anywhere in the world
-
Will need to go through the BeED vetting process for quality approval before they can be published
-
Can only use Creative Commons or Public domain media in order to refrain from copyright infringement. For more details on how to use Creative Commons or Public domain media, click here.)
If you are publishing your Learning Experience as Public, you may first want to fill up information in the Branding section under Publishing Info.
What happens after submitting my LE for approval?
After selecting Public on the Publishing Info page, indicate a price you would like to sell your LE for on the marketplace. You will then be asked to submit your LE to us for approval. We will evaluate your LE and offer possible suggestions for improvement. Once you pass the vetting process, your LE will be published onto the Nexus and be available for purchase.
What is SEO and why is it important?
The keywords you insert under SEO Title and Description help search engines such as Google and Yahoo! find your LEs. So make sure to include keywords such as the POI name, subject and topic in the SEO fields.
Creating Folders through your Browser
To better organise your work, you can create folders in your Library.
-
Click on “Explore” in your toolbar menu, and then select “Library”.
-
Click on the + icon located at the bottom right of your screen, and then select the “Create New Folder” icon.
-
Name your folder and click on “Create”.
-
Once you have created your folder, you can click on the three dotted icon located at the right of each folder tab to rename or delete your folder.
-
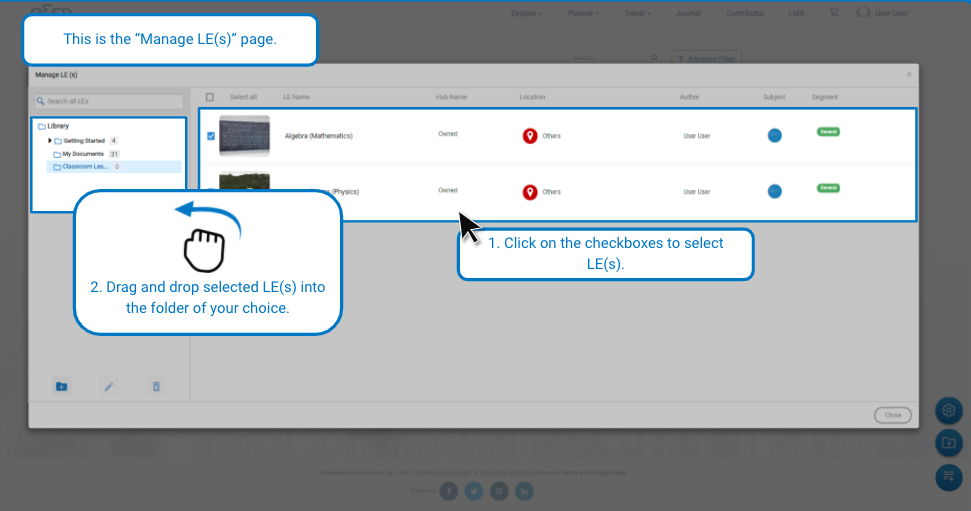
To organize and manage your LEs, click on the + icon at the bottom right of your screen, and select the “Manage LEs” icon. You will then be taken to the Manage LEs page.
-
To organize your LEs into your folder, click on the checkboxes of the LEs you want to organize, and then drag and drop them into the folder of your choice, as shown in the side menu.
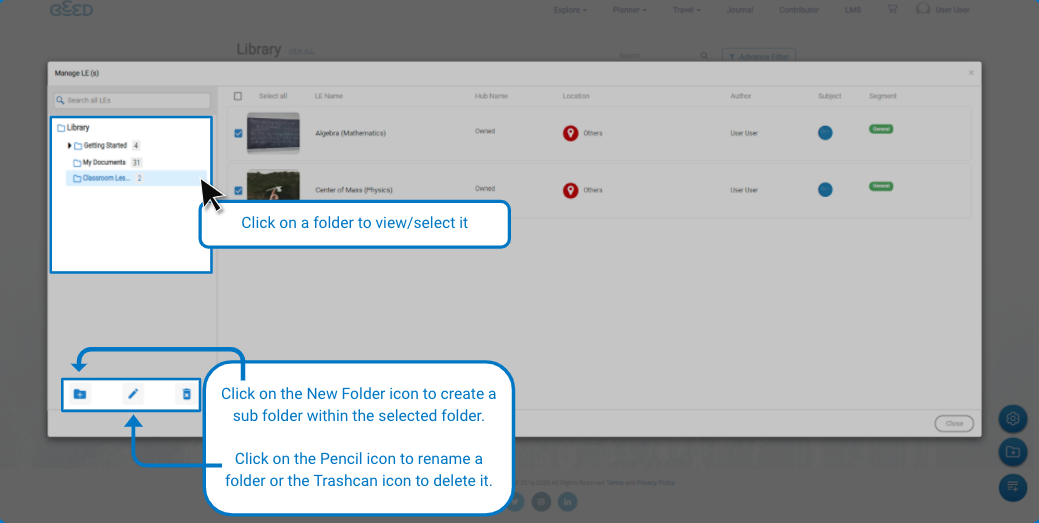
7. You can then click on a folder to view/select it.
8. You can also click on the New Folder icon to create a subfolder within the selected folder, or click on the Pencil icon to rename it, or the Trashcan icon to delete it.

Creating Folders in the App
-
In your library page, click on the + icon located at the bottom right of your screen, and then select “Create New Folder”.
-
Name your folder and click on “Create”.
-
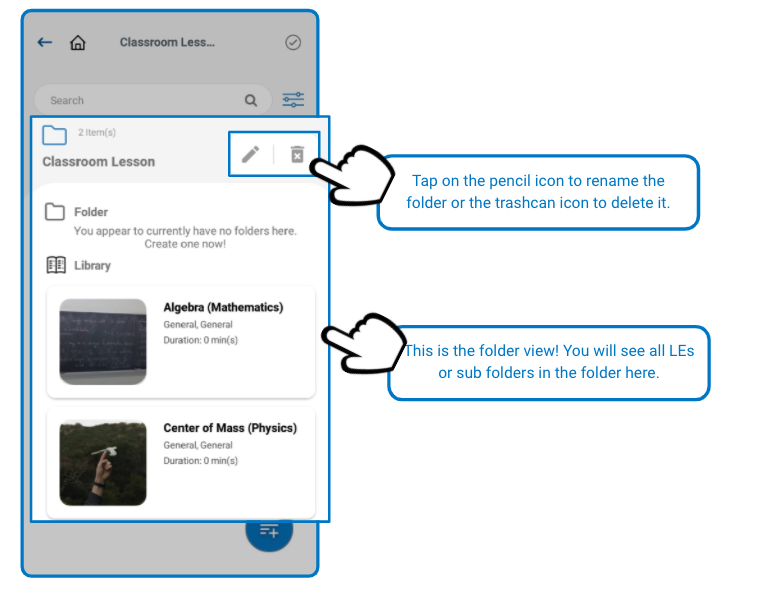
Once your folder has been created, tap on the select icon located at the top right of your screen, and then tap on the LEs that you would like to move, and then tap on the folder icon.
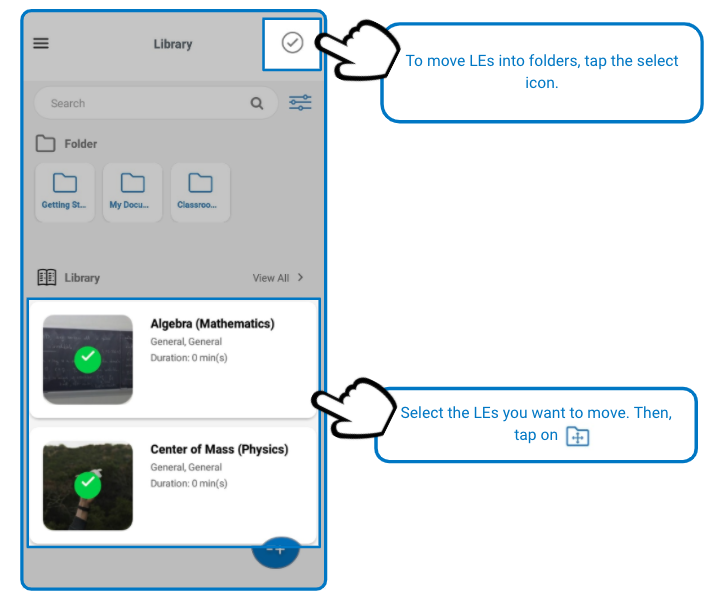
4. Select the folder you want to move the LE into, and then tap on the folder icon.
5. You can tap the pencil icon to rename the folder or the trashcan icon to delete it.

No Comments