Connect
Introduction to BeED Connect
BeED Connect is a place for you and members of your institution to share ideas and hold discussions on specific topics. With BeED Connect, you can create the following:
Announcements
Announcements are made by the Account Admin and can be seen by the entire network or selected users only.

Public Topics
Public Topics are created by Educators and can be seen by the entire institution network. Public Topics can be identified by the Unlock icon to the left of the Topic Title.

Private Topics
Private Topics are created by Educators and are seen by selected users only. Private Topics can be identified by the Lock icon to the left of the Topic Title.

Messenger
Messenger allows you to send private messages and create group chats with other users in the same institution network.
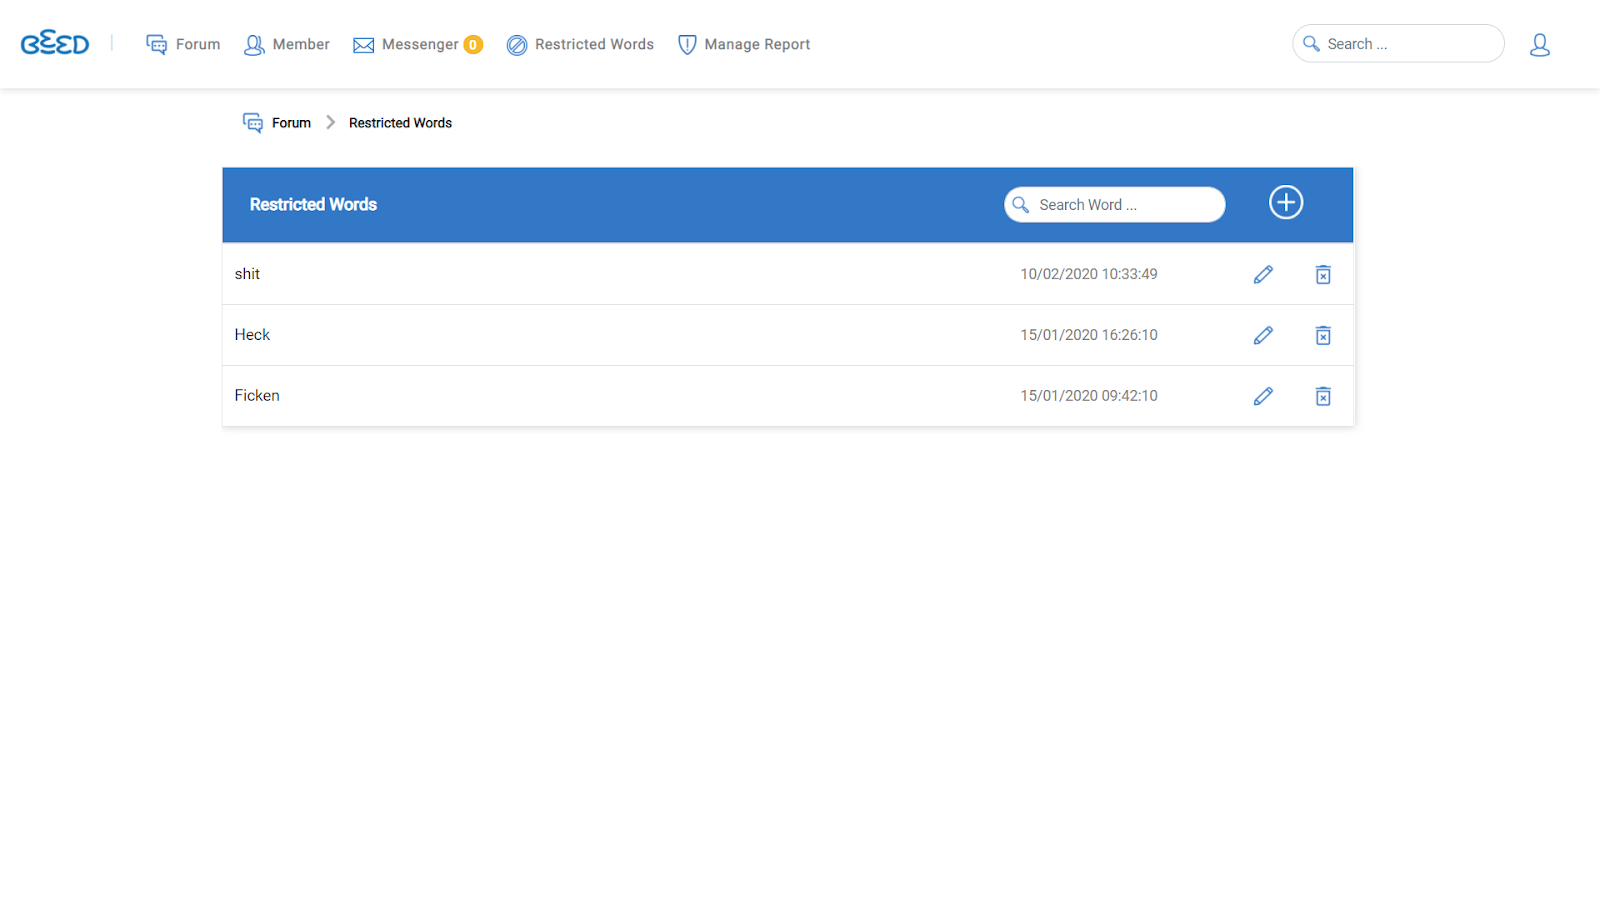
Restricted Words
Restricted Words allows Curriculum Directors and Admins to restrict the usage of profanity or sensitive words across BeED Connect for users in their institution network.
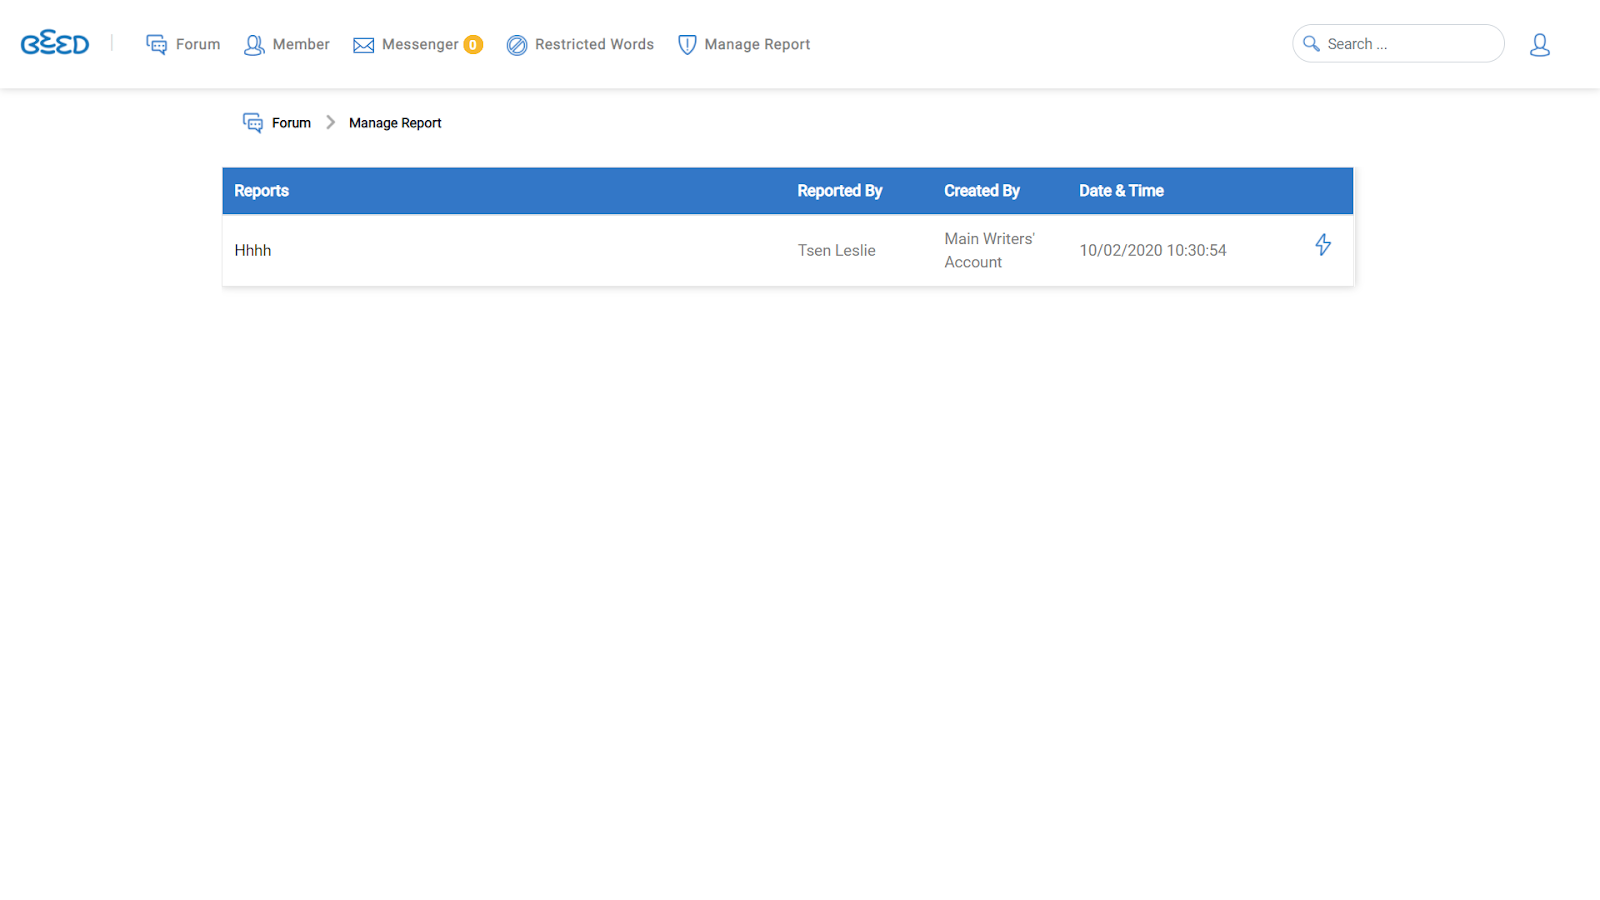
Manage Report & Ban User
Manage Report allows Educators and Admins to take action on inappropriate posts and messages that are reported by other members of your institution network. This includes warning or temporarily banning users who engage in inappropriate conduct.
Using BeED Connect through the Browser
1. Click on the Module Selector, and then on Connect.
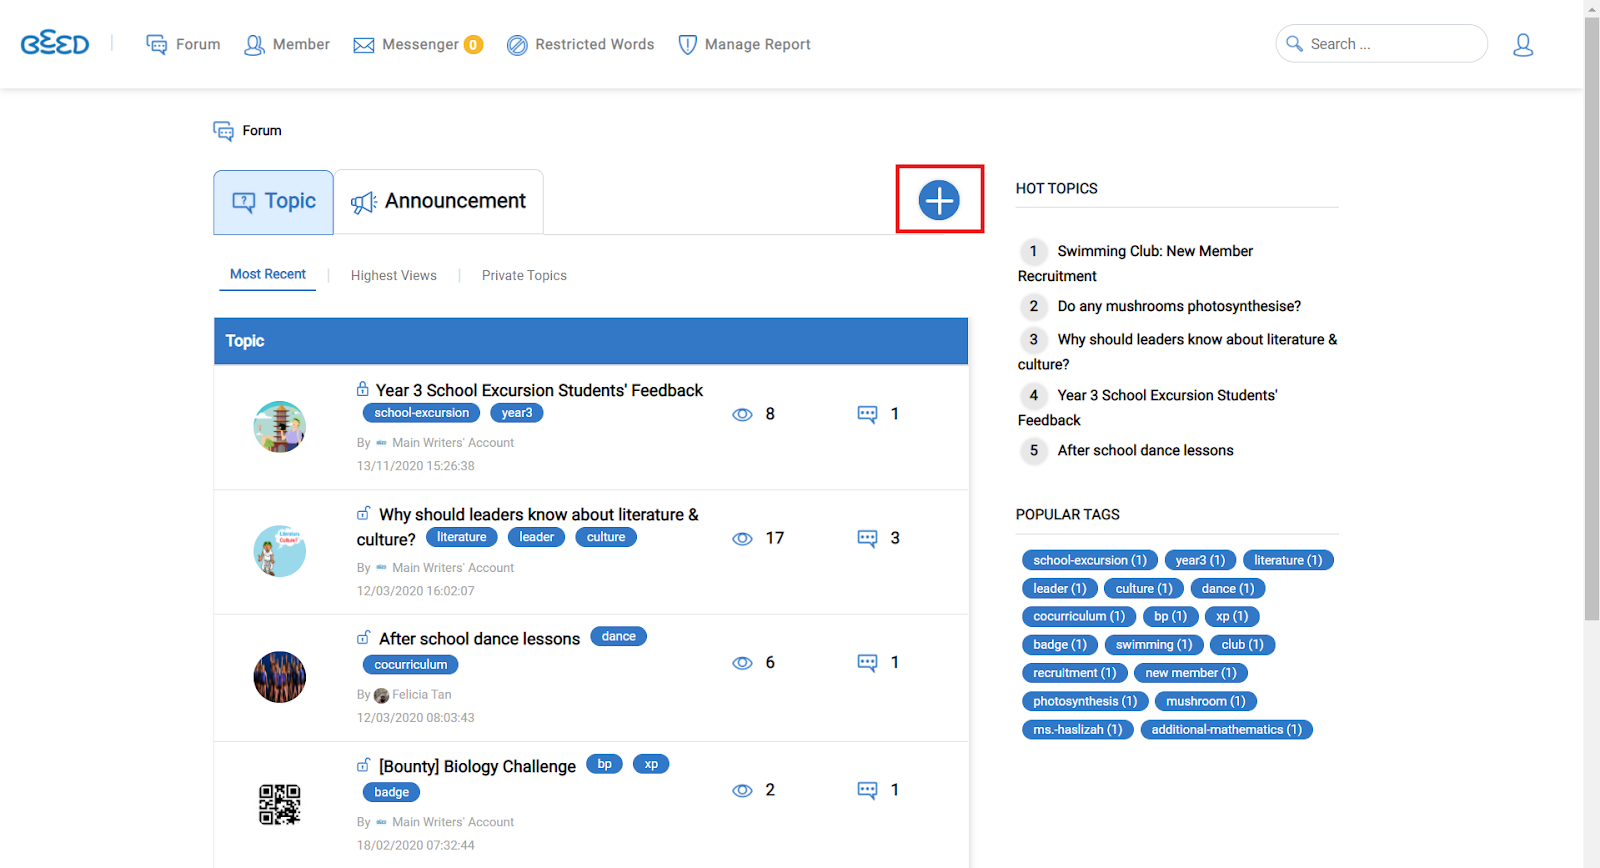
2. Click on the + button located in the middle of the Forum to start a new discussion.
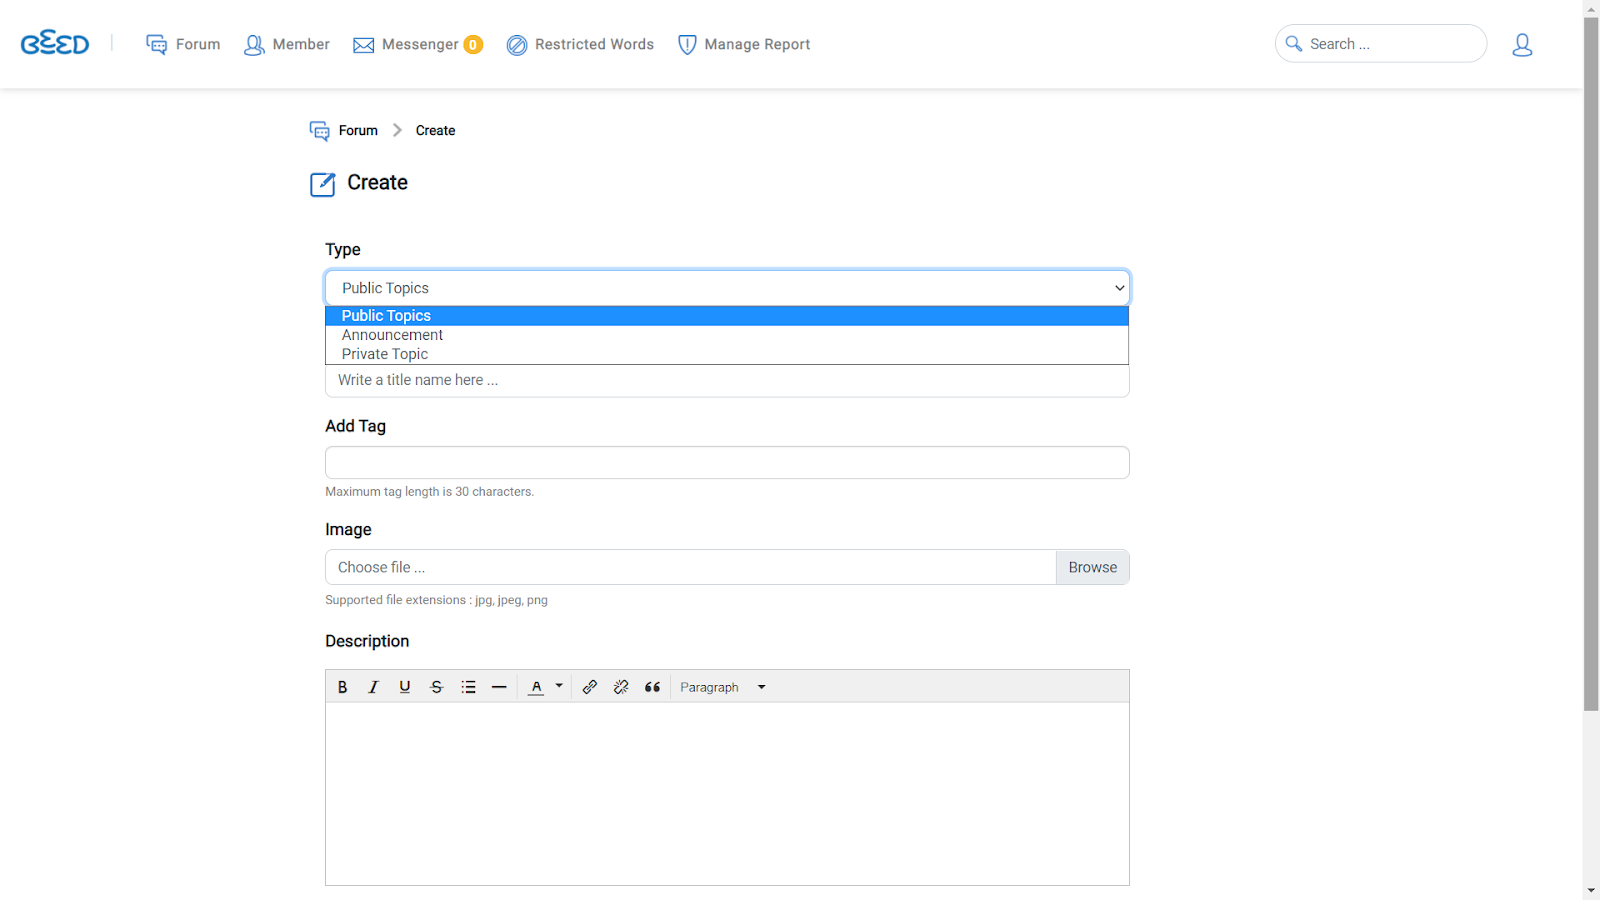
3. When creating Forum topics, you can:
- Select between Announcements, Public or Private posts
- Add tags to easily filter topics
- Attach images or files
- Use the description to start a discussion or set forum guidelines/rules.
Note: Remember, try to be respectful and refrain from posting anything that may be offensive or controversial to others.
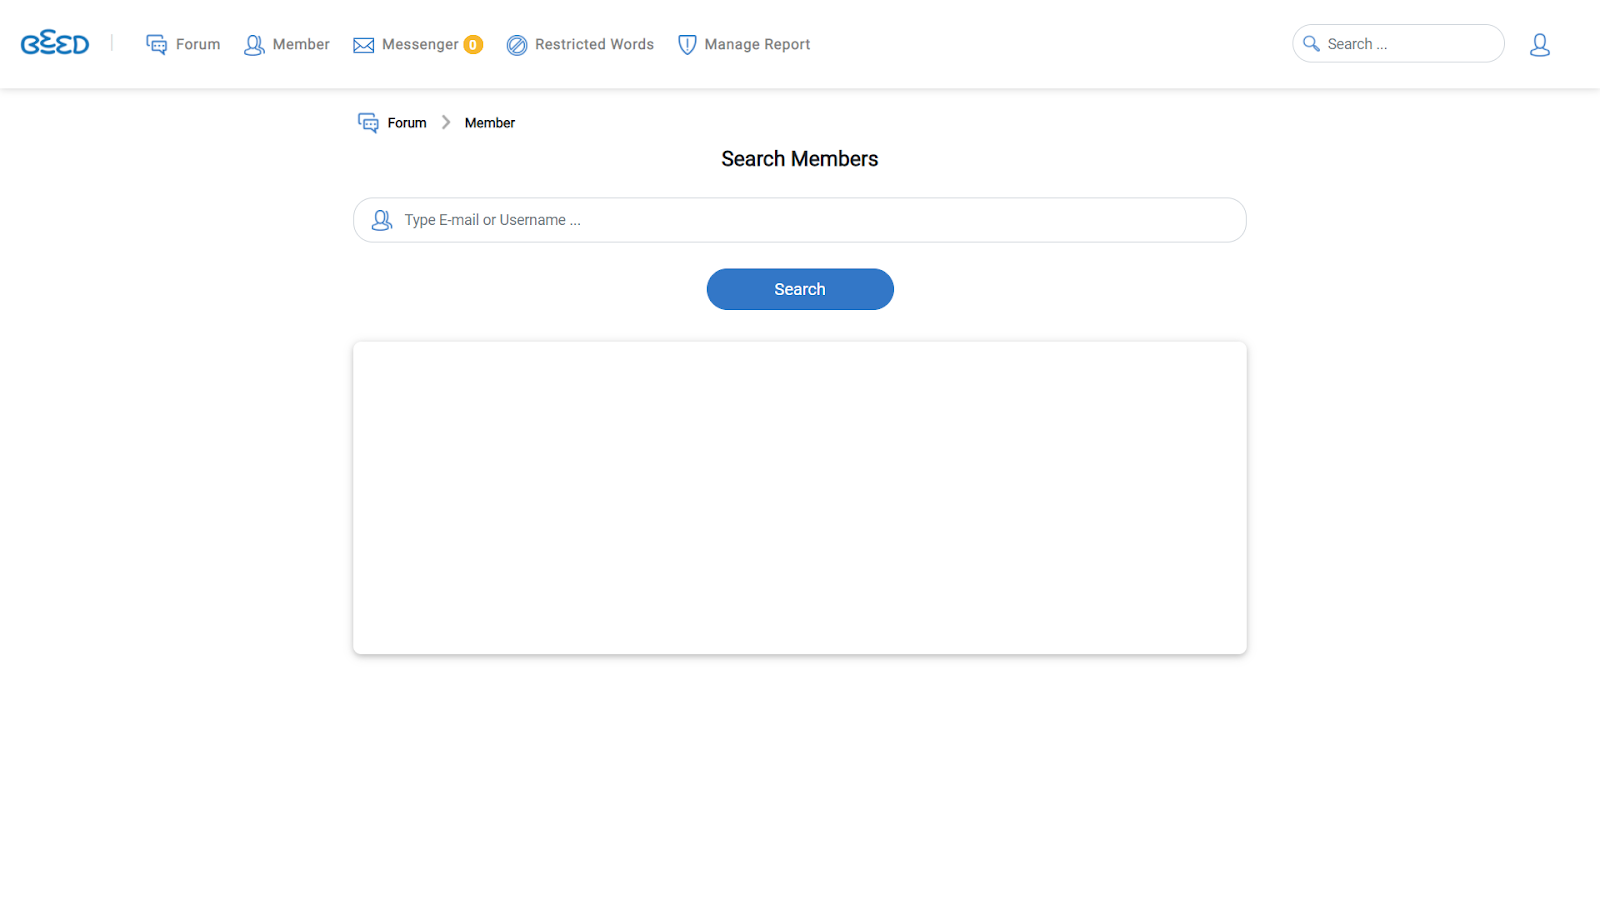
4. The 'Member' page allows you to search for members of your institution and view their profile. Type in the e-mail or user name in the search bar to locate a particular user.
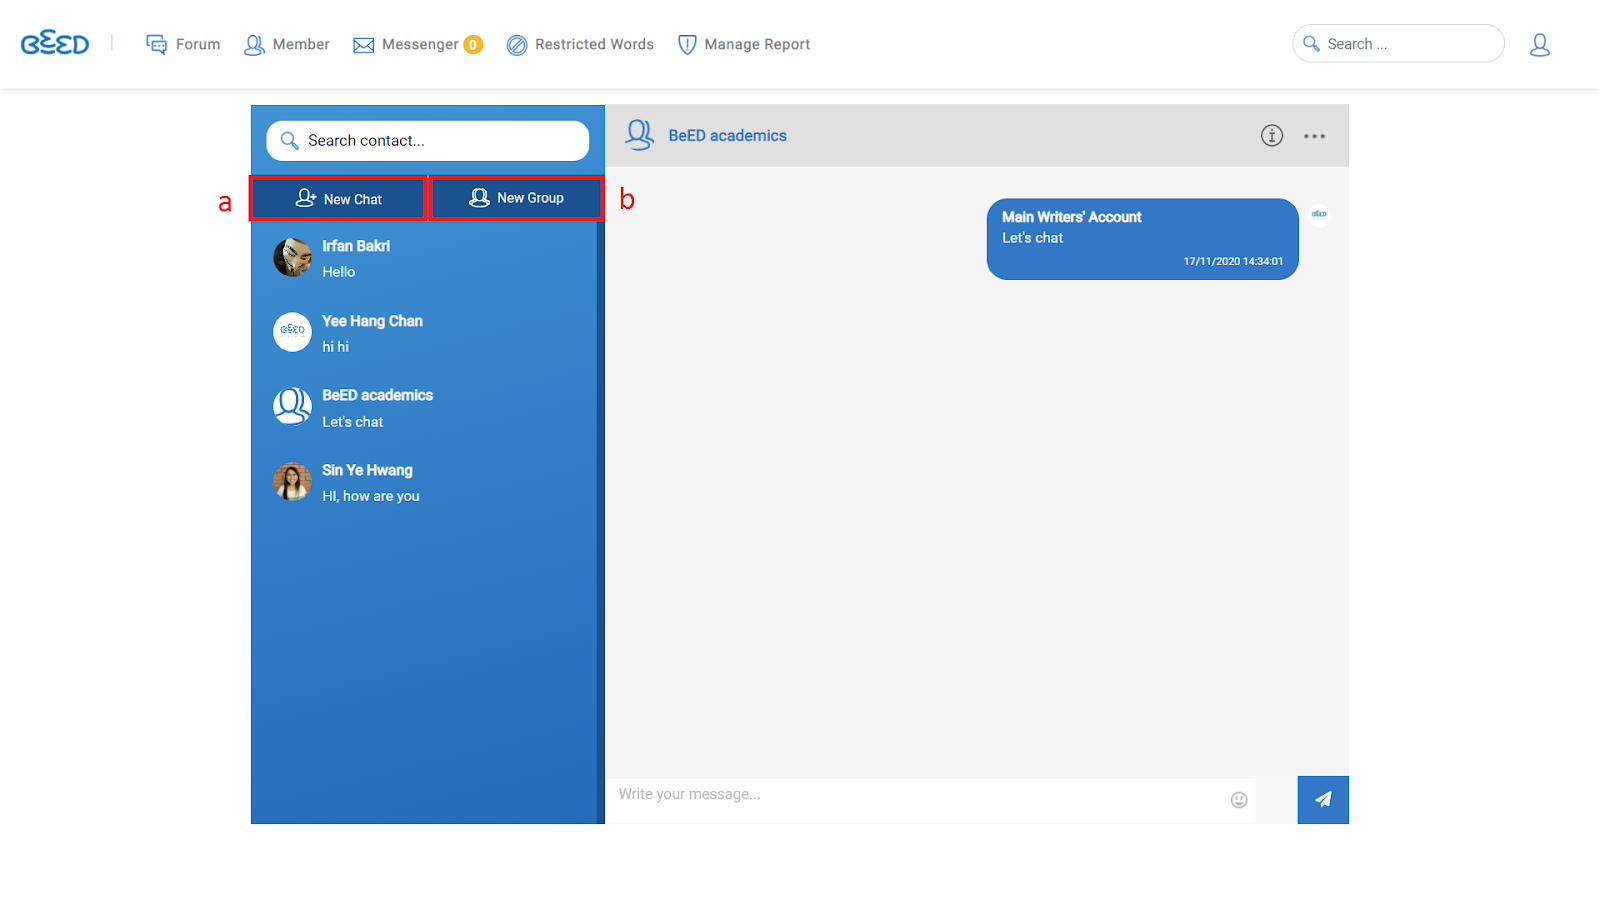
5. The ‘Messenger' allows users to:
a. Start a private chat between users. To start a new chat, click on the New Chat button and select the user you would like to start a conversation with. Add an opening message and click Add.
b. Create group chats. To start a new group chat, click on the New Group button and select the users you would like to add to this group. Enter the name of the group, the group icon, and an opening message. Click Add to create your new group chat.
6. If you are the Admin of the institution, you can use the Restricted Words tab located in the toolbar menu to regulate potentially offensive language in the Forum. Restricted words will then appear as ### in posts.
7. If you are the Admin of the institution, you can also click on the 'Manage Reports' tab in the toolbar menu to see posts that have been reported by other users. Click on Action to view the details of these posts. After viewing these posts, you can decide to delete them if they are deemed offensive.
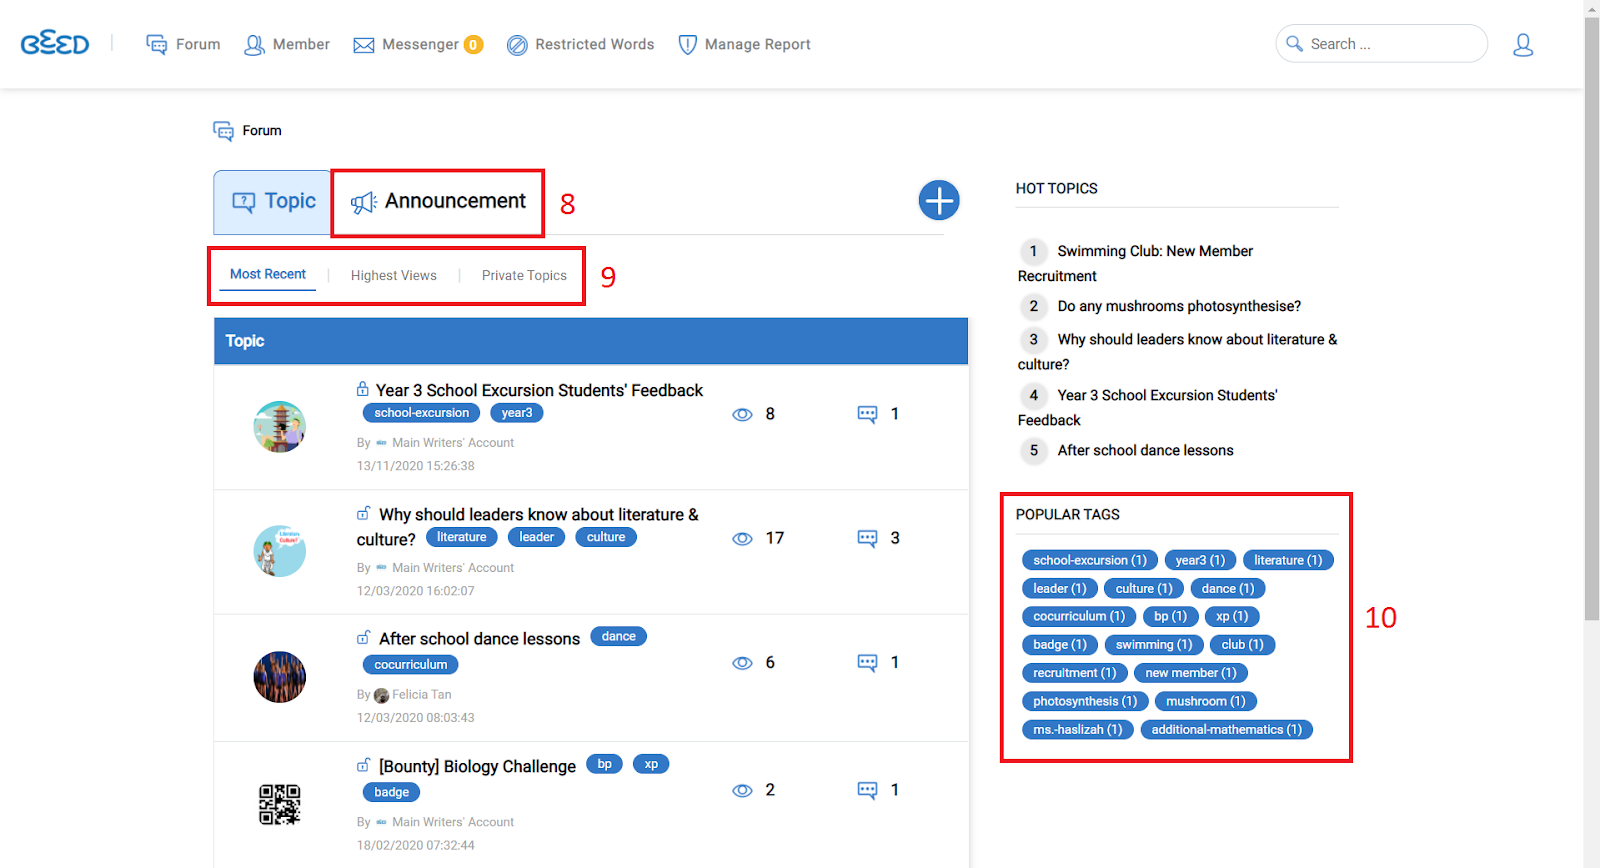
8. You are also able to view announcements made by Admins in the 'Announcement' tab.
9. Once members of your institution have created several posts, you can see the list of topics being discussed in the main Forum page, and sort them by 'Most Recent', 'Highest Views' or 'Private Topics'.
10. You can also click on a tag under 'Popular Tags' to filter for related, trending topics.
Using BeED Connect through the App
1. In your menu, select Tools and then Connect.
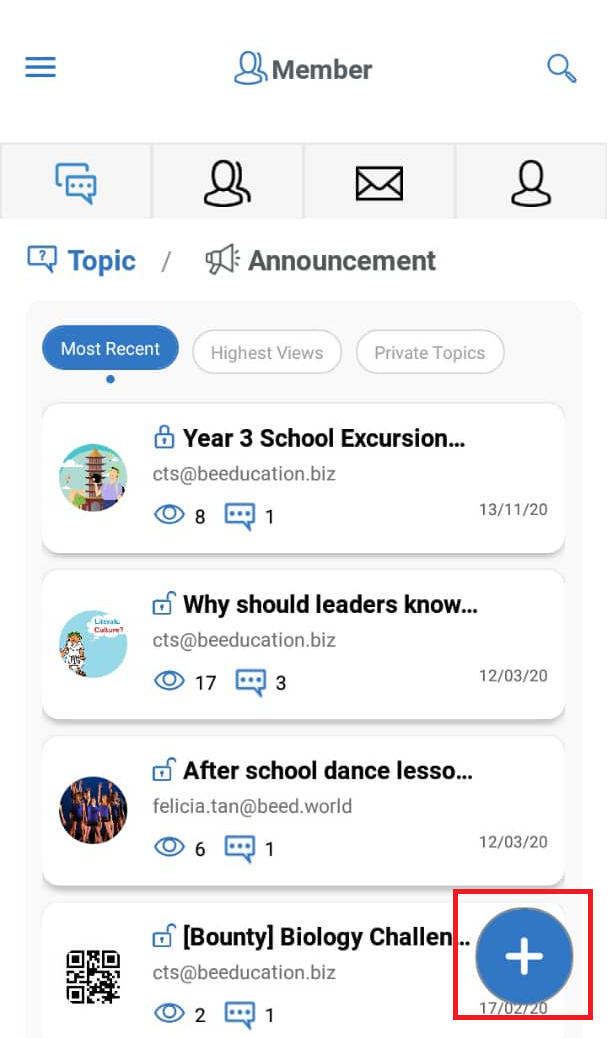
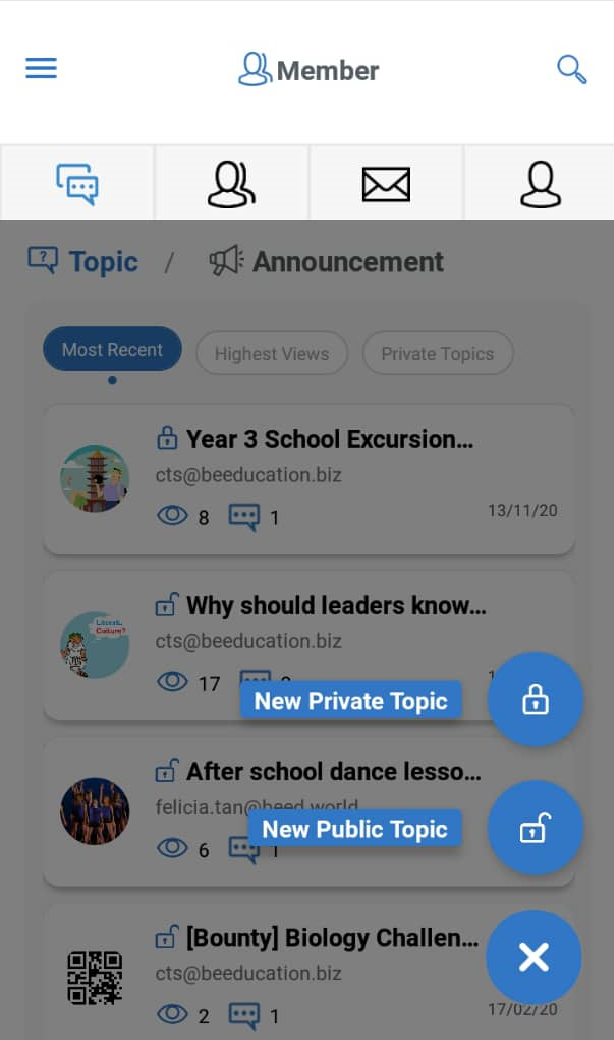
2. Click on the + button located at the bottom right of your screen to start a new discussion.
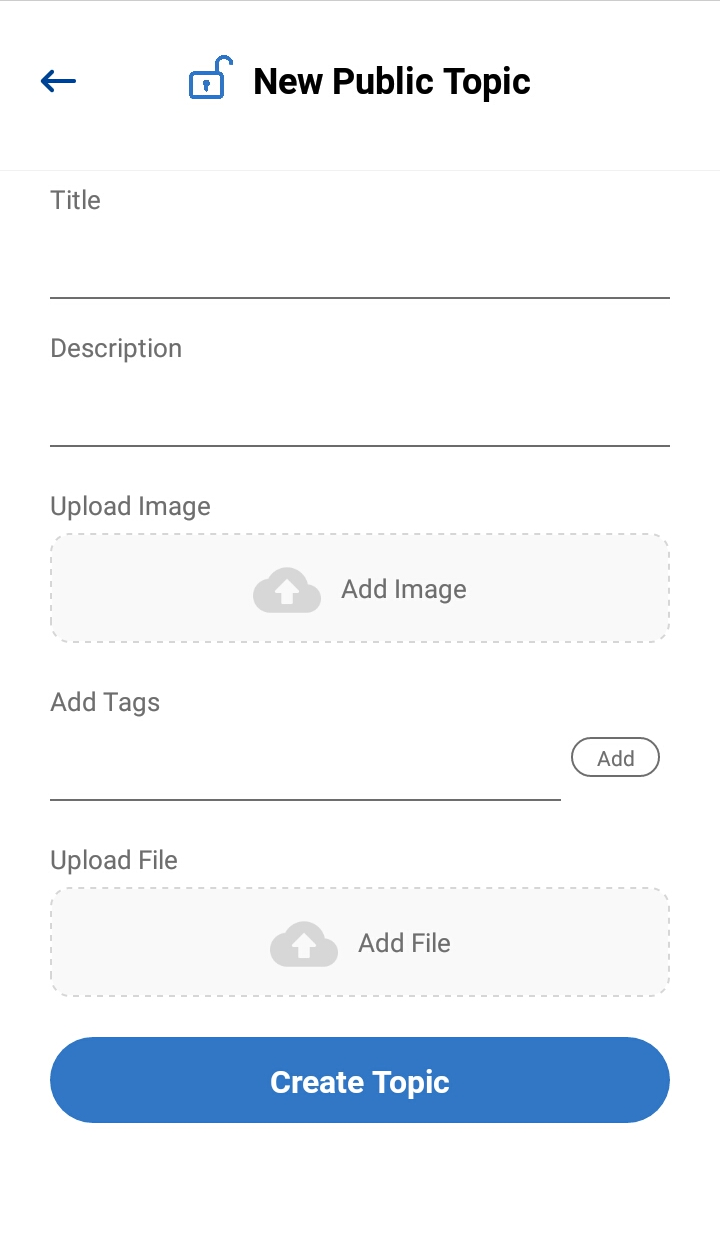
3. Select New Public Topic to post a public topic and New Private Topic to post a private topic.
4. Fill up the details of your forum post, such as title, description and so on, and click on Create Topic.
5. You can swipe left to view announcements in the 'Announcement' tab.
6. From the main page of your Forum, you can filter posts by clicking on the 'Most Recent', 'Highest Views' or 'Private Topics' tabs.

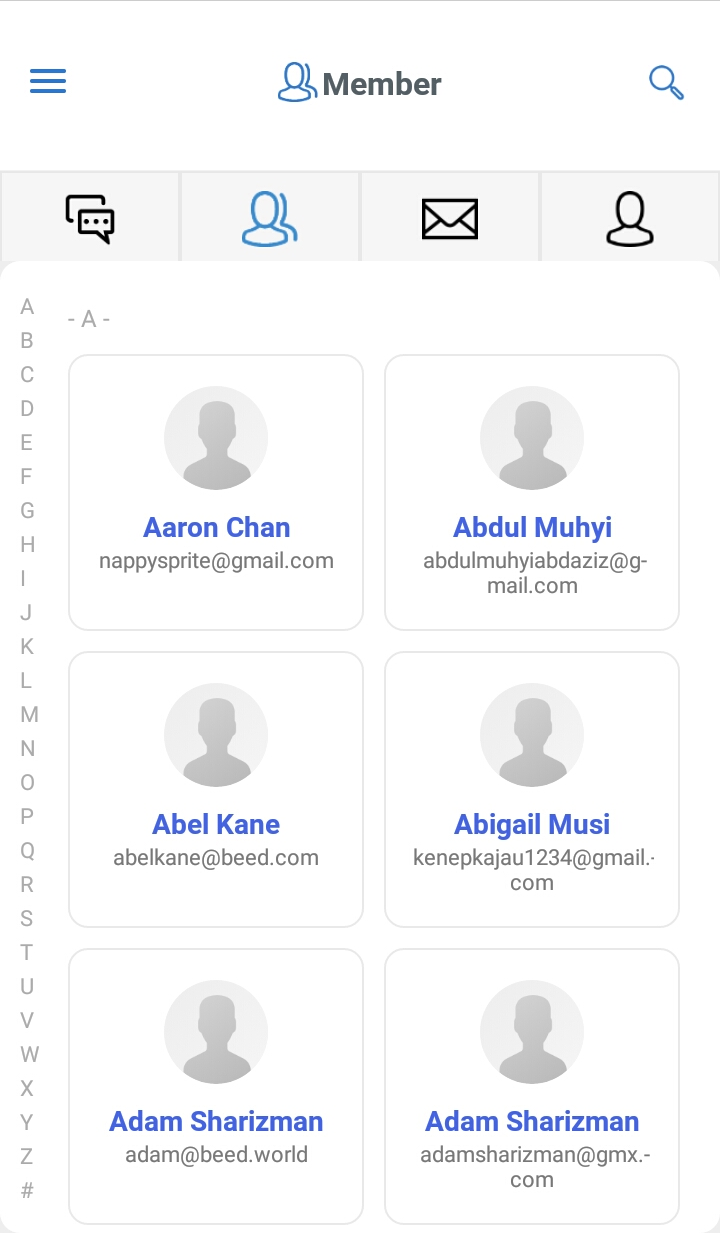
7. Tapping on the 'Member' icon would allow you to search for members of your institution and view their profile. Type in the e-mail or their user name in the search bar to locate a particular user.
8. The ‘Messenger” allows users to:
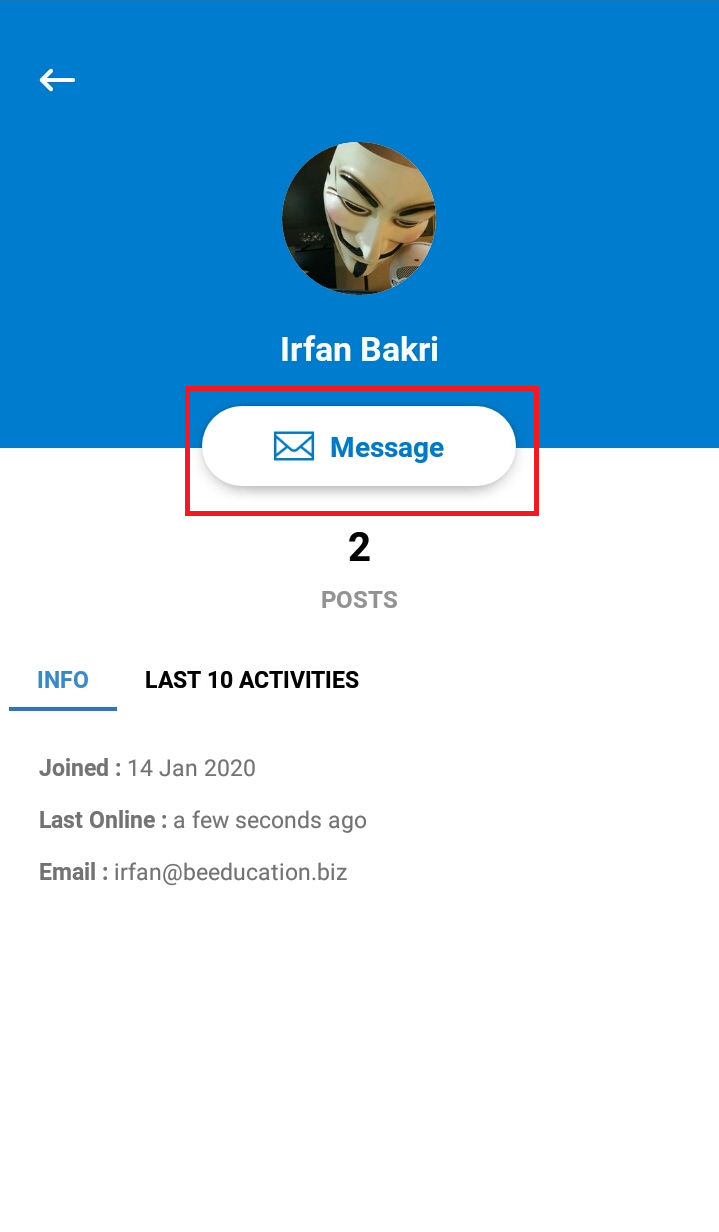
a. Start a private chat between users. To start a new chat, click on the ‘Member’ icon and select the user you would like to start a conversation with. Tap on the ‘Message’ icon in their profile page to start a private chat.
b. Create group chats. To start a new group chat, tap on the Create New Group button. Enter the group name, the opening message and the group icon and tap Create Group. To add new users to the group, tap into the group chat, select the three dot icon on the top right of your screen and tap Add User.

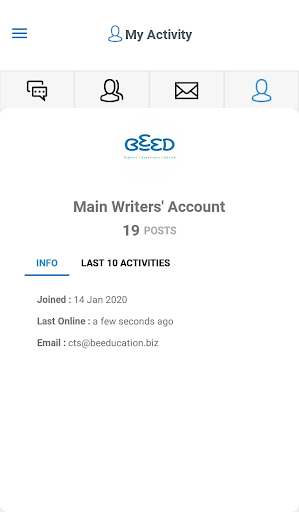
9. The 'Profile' icon allows you to view your profile information, including your last 10 activities.
No Comments