How do I create a Lesson?
This page details the instructions on how you can create interactive and engaging lessons within the BeED ecosystem. The word “Lesson” and “Learning Experience (LE)” will be used interchangeably within the system and in this guide, but both referring to the same document type.
First off, what is a Lesson/Learning Experience?
Within BeED’s Ecosystem, the Lesson is a packet of e-learning content created for Learners to use, complete with all the information and resources they need to master a topic. It can include supplementary materials, in-class materials, worksheets, assessments, quizzes and mobile learning activities for outdoor learning.
BeED’s Learning Experiences provides you the freedom to utilize any teaching pedagogy you wish; reinforcing them with your personalized interaction style.
There are several components to BeED’s Lessons! Click on the link below to learn about them before continuing further.
What are the Lesson Components of BeED?
If you are from the Training Lesson, skip ahead!
So, How do I Create a Lesson?
Before we start, we would like to inform you on copyright laws and the types of media you can upload into the BeED Ecosystem.

Not all content (Images, Videos, Audio and text) found on the internet can be published in an LE for sale. Imagine someone just taking your creation and distributing it online without giving you credit, or worse, having the audacity to sell it without your explicit approval. You probably wouldn’t feel so good about that too, right?

Image Taken from: Photo by Pixabay on Pexels
For Content Creators such as yourself who are planning to publish your LEs publicly, it is advisable to use content that is Public Domain or covered under CC (Creative Commons) licenses, with proper citations. The citations list should be included in the final part of your LE.
Click here to read up on Creative Commons.
Click here to read up on MLA in-text citation formatting.
We at BeED take copyright infringement very seriously, and it is thus highly recommended for every BeED Content Writer to go over the guide on Copyright Free Materials.
______________________________________________________________________________________________________________________________________
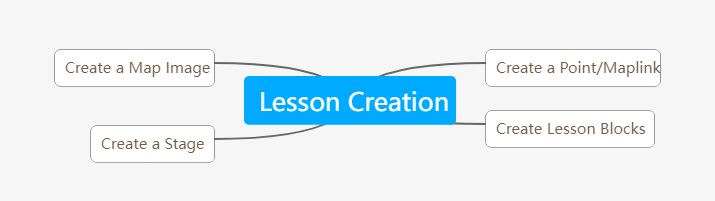
BeED’s Lesson Editor gives you the flexibility to add and specify lesson components into more finetuned sections. Click on below to view the Lesson Creation Process;
However, the BeED ecosystem is divided into multiple modules under two products; BeED Journeys and BeED LMS.
__________________________________________________________________________________________________________________________________
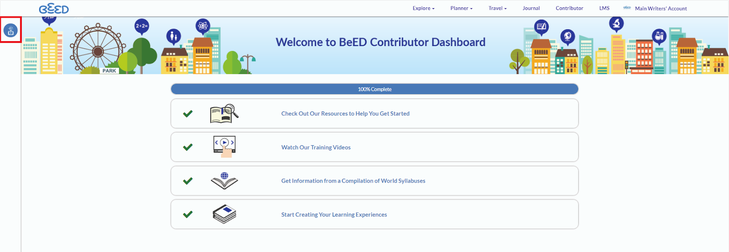
1. To create your Learning Experience, click on the Library icon listed in your Contributor dashboard.

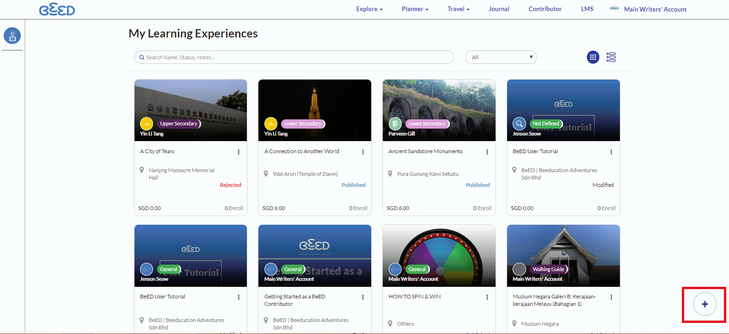
Click on the plus icon

3. Select the type of Learning Experience you would like to write. The different types available are as follows:
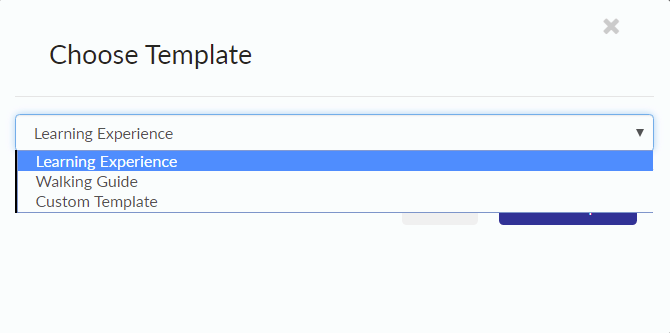
The three templates available
4. Fill up some basic information so that your Learners can easily identify what your LE is about or find any relevant information they need to know before starting your LE.
Watch the following video to understand how you can fill in the basic info page:
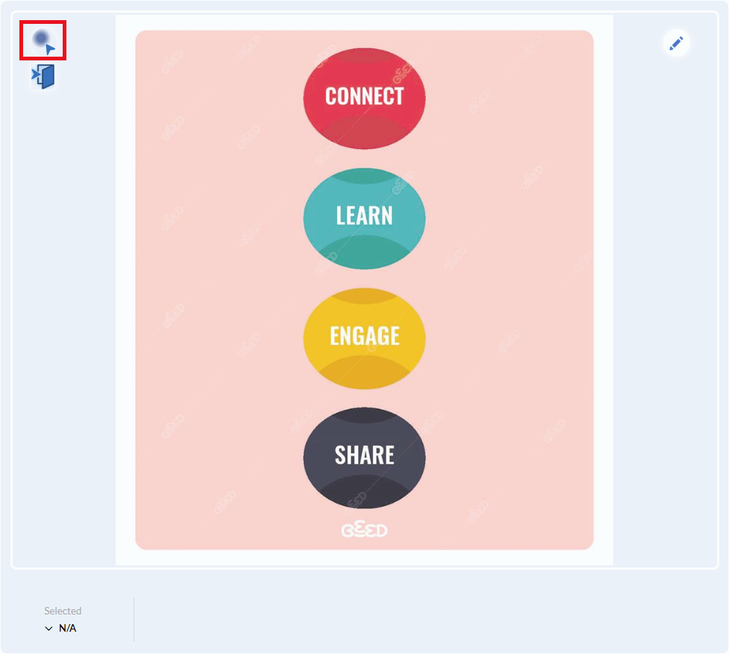
5. Click on the Lesson Creation tab located at the top of your Learning Experience.

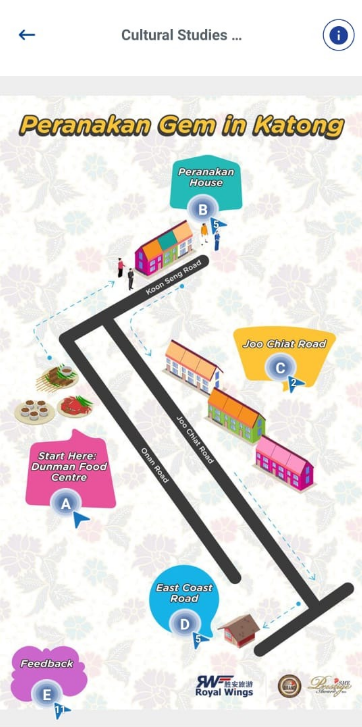
6. Insert a learning roadmap by clicking on the pencil icon in the top left of the Main map section and inserting an image. The image can be a map for outdoor learning, or a mind map listing out the topics covered in this lesson. Click here to download some map templates, or look for ideas on how to use maps creatively.
To learn how to upload a Map Image for your lesson, watch the video below!
7. (Optional) Create a map link to further organize your lesson into separate submaps.
8. Click on the first icon on the left of the map to Add New Point. Drag the new Point to your desired position on the map.
Click on the icon in the top left corner
9. Click on the + icon below the map. This creates new stages for this Point. Enter your Stage Name and fill in the required fields. Then, click Create Stage in the bottom left. You can click on the pencil or trash icon respectively to edit or delete the stage.


11. Click Save in the top right once you’re done.
12. Once done, click on Publishing Info to use your LE in your hub!
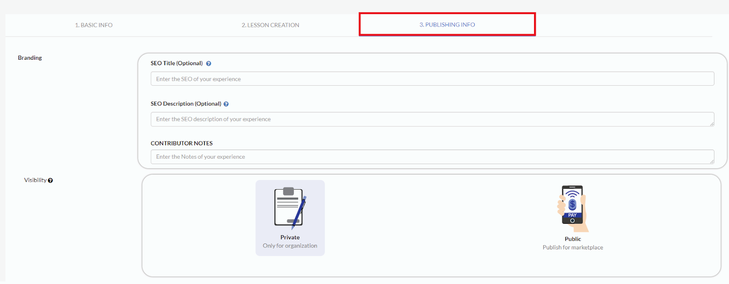
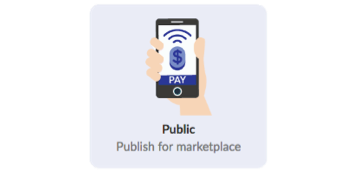
13. Publishing Info tab lets you publish in the BeED Marketplace. Click on Private and click on Publish if you’d like to use the lesson in your class!
Creating Independent Lessons in the LMS
To create an independent Lesson:
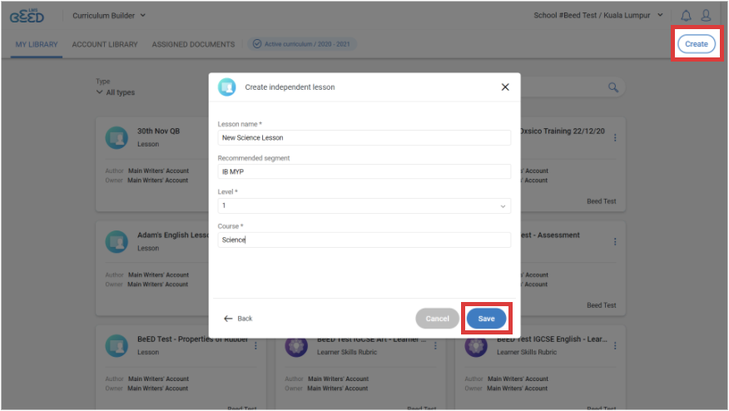
1. In My Library, click Create in the top right corner.
2. Select Lesson from the listed document types. Fill in the required fields and click Save.
Make sure you select your Course from the drop down menu. If your Course doesn’t appear, please contact your Administrator to add it in the Admin Panel
Under the Basic Info tab:
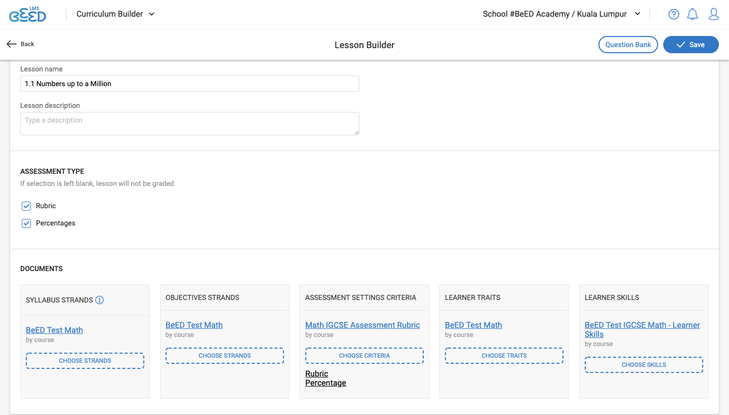
3. Insert the Lesson description and Assessment Type.
4. (Optional) Import or create the Syllabus, Objectives, Assessment Rubric, Learner Traits and Learner Skills for this Lesson by clicking on the plus or import icon for each document.
Under the Concepts tab:
5. (Optional) Toggle on the relevant pedagogical methodologies and insert information in the respective fields. For concepts, press the Enter key every time you input in a new concept.

Under the Content Creation tab:
6. Fill up the necessary fields in the upper half of the page.
7. Insert a learning roadmap by clicking on the pencil icon in the top right of the Main map section and inserting an image. The image can be a map for outdoor learning, or a mind map listing out the topics covered in this lesson. Click here to download some map templates, or look for ideas on how to use maps creatively.
9. Click on the + icon below the map. This creates new stages for this Point. Enter your Stage Name and fill in the required fields. Then, click Create Stage in the bottom left. You can click on the pencil or trash icon respectively to edit or delete the stage.
10. Click on + Lesson Block or + Question Block to structure your Lesson. You can drag these blocks forward or back to rearrange their order. To delete a block, click on the trash bin icon in the top right of the block. Watch the videos below for more details on how to create Lesson blocks, Open Response blocks and MCQ blocks.
11. Click Save in the top right once you’re done.
Creating Nested Lessons in the LMS
To create a nested Lesson:
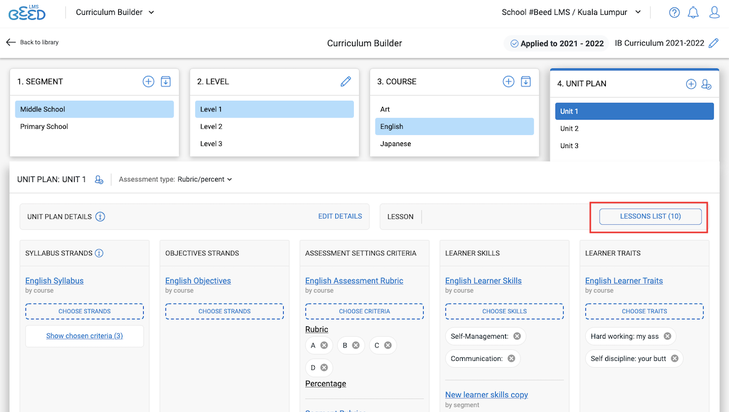
1. Go to the Curriculum Builder page. In the lower right side of the page, navigate to the Unit Plan you want to nest your lesson inside. Click on the Lessons List button.
2. In the subsequent page, click on the + New button.
Under the Basic Info tab:
3. Insert the Lesson name, description and assessment type. Select the strands/criteria from the Syllabus, Objectives, Assessment Rubric, Learner Traits and Learner Skills that apply to this Lesson.
Under the Content Creation tab:
4. Fill up the necessary fields in the upper half of the page.
5. Insert a learning roadmap by clicking on the pencil icon in the top right of the Main map section and inserting an image. The image can be a map for outdoor learning, or a mind map listing out the topics covered in this lesson. Click here to download some map templates, or look for ideas on how to use maps creatively.
7. Click on the + icon below the map. This creates new stages for this Point. Enter your Stage Name and fill in the required fields. Then, click Create Stage in the bottom left. You can click on the pencil or trash icon respectively to edit or delete the stage.
8. Click on + Lesson Block or + Question Block to structure your Lesson. You can drag these blocks forward or back to rearrange their order. To delete a block, click on the trash bin icon in the top right of the block. Watch the videos below for more details on how to create Lesson blocks, Open Response blocks and MCQ blocks.
What's the difference between Independent and Nested Lessons?
A nested Lesson differs from an independent Lesson in the following aspects:
_______________________________________________________________________________________________________________________________________
Now, What's Next?
Attaching Lessons into your Hub
Creating a Hub through the Browser
Linking your Lessons to your Plans
What is the Itinerary Planner? (Itinerary Builder)
Create a Planner from the Browser (Itinerary Builder)
BeED LMS
No Comments